2026-11-19
Aerosol line projects usually begin with a speed figure and end with a layout problem. A three-piece aerosol can has to pass a welder, a cone press, a dome press, a valve cup punch and a combination machine before it is ever pressure tested, and the quoted output only holds when all of those stations are matched to the same format, the same tinplate gauge and the same buffer capacity. The working rule is simple: size the aerosol can making machine around the slowest station and the format range you genuinely sell, not around the largest number on the specification sheet.
The mainstream aerosol container is still a welded three-piece can: a cylindrical body, a cone that carries the valve cup aperture, and a bottom dome that gives the base its pressure resistance. Two-piece drawn versions exist for some products, but the three-piece route remains the default for everything from insecticide and spray paint to foam, deodorant and technical aerosols, because it tolerates a wide spread of tinplate gauges and internal lacquers.
That anatomy explains the phrase itself. An aerosol can making machine is rarely one unit; it is a set of presses, welders, seamers and lining equipment, and the way they are matched decides the yield. Most aerosol bodies run from roughly 45 mm to 66 mm in diameter and from about 90 mm to 300 mm in height, with the valve cup aperture built around the 1-inch (25.4 mm) standard. If your catalogue stops at three diameters, say so at the quotation stage — it changes tooling counts, changeover time and price far more than a small speed difference does.
A typical three-piece aerosol line is arranged in three trains that meet at the combiner. Reading it as a tree makes the bottleneck visible long before the equipment reaches your floor:
The trains do not need identical speeds, but they do need enough buffer between them to absorb stops. A rejected can at the combiner should cost one can, not a full reset of the welder and a scrapped length of coil.
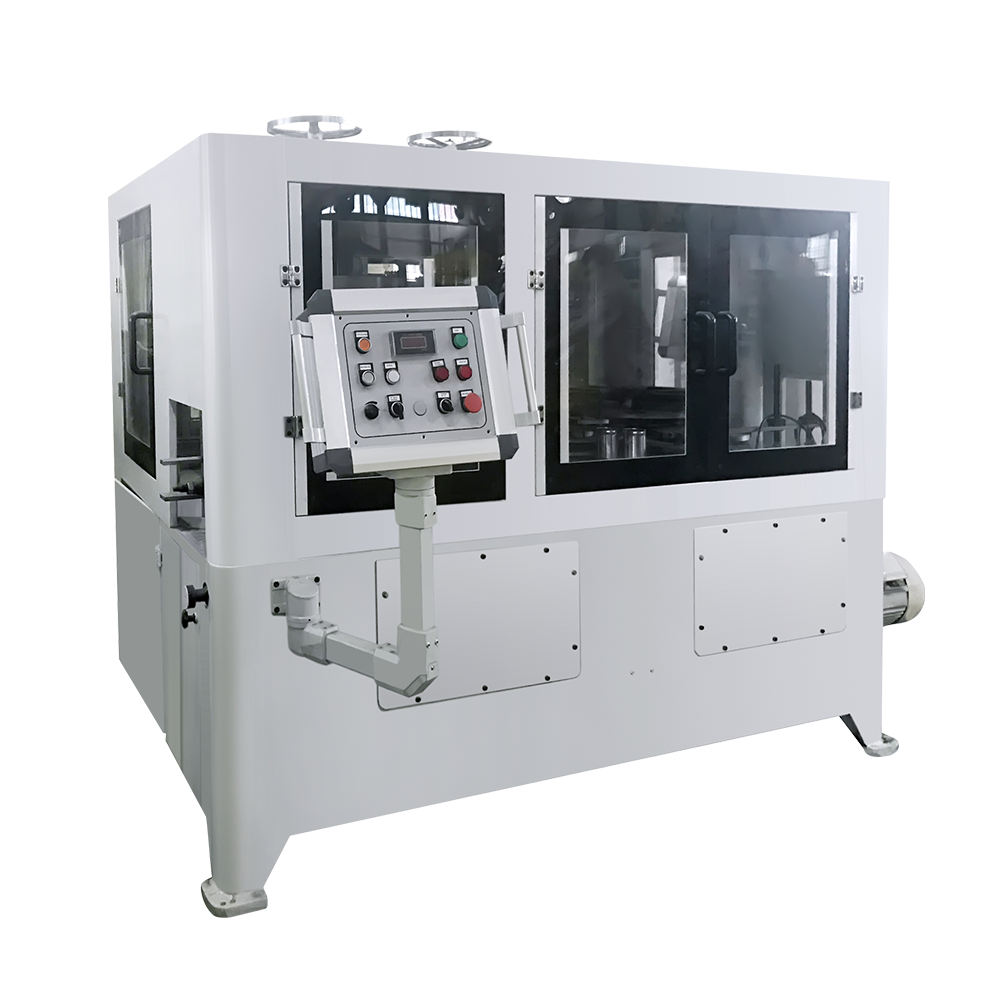
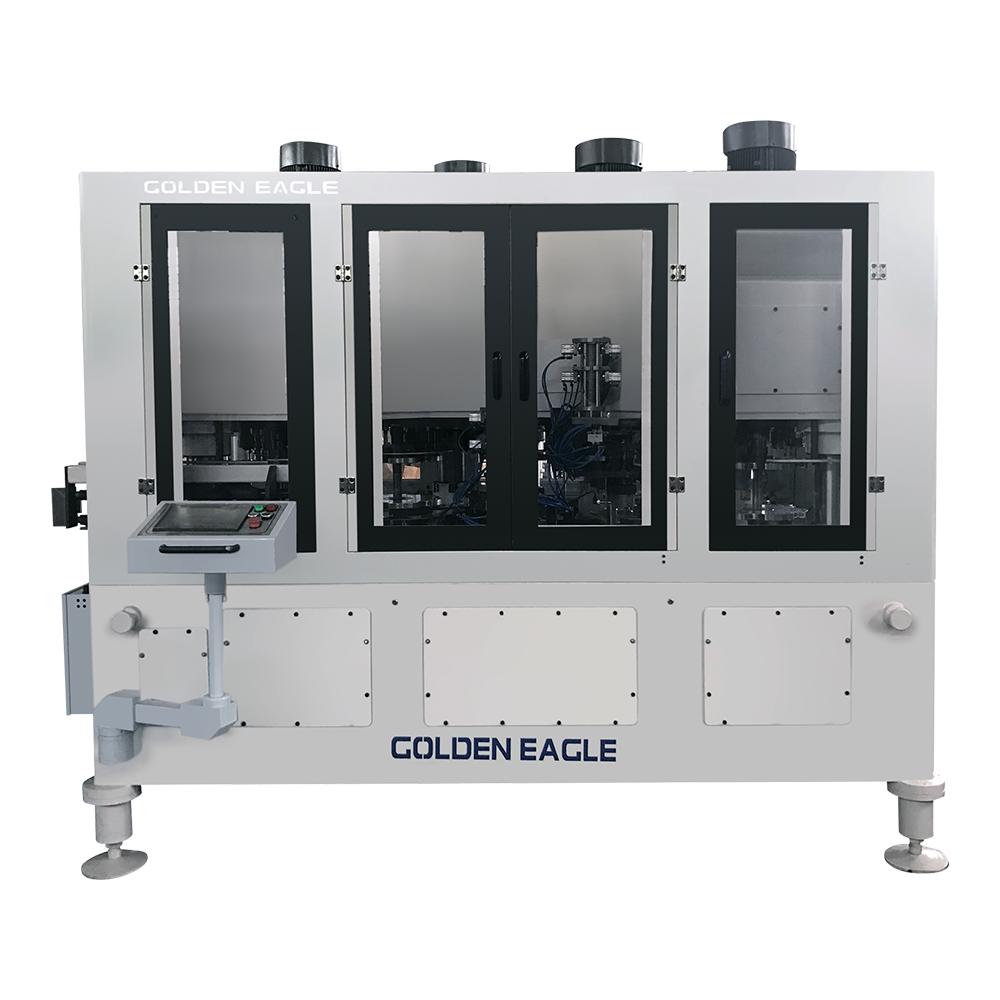
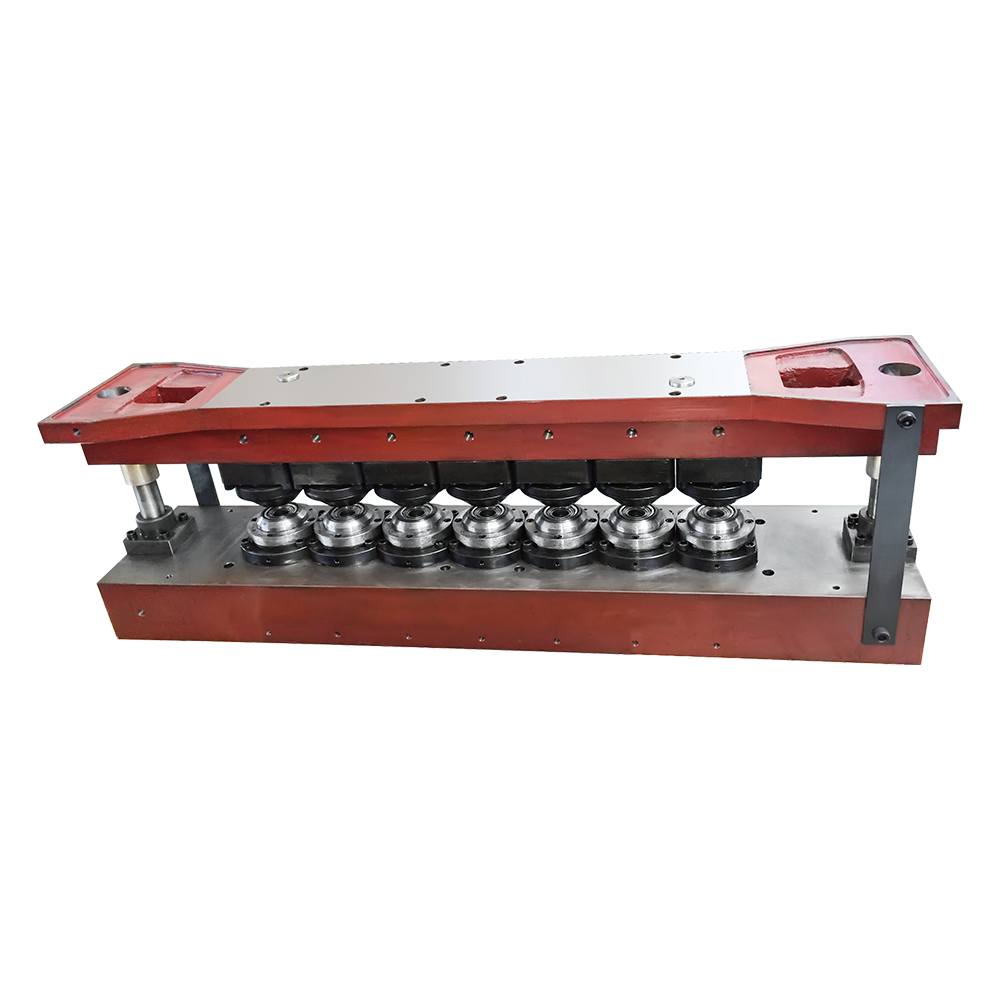
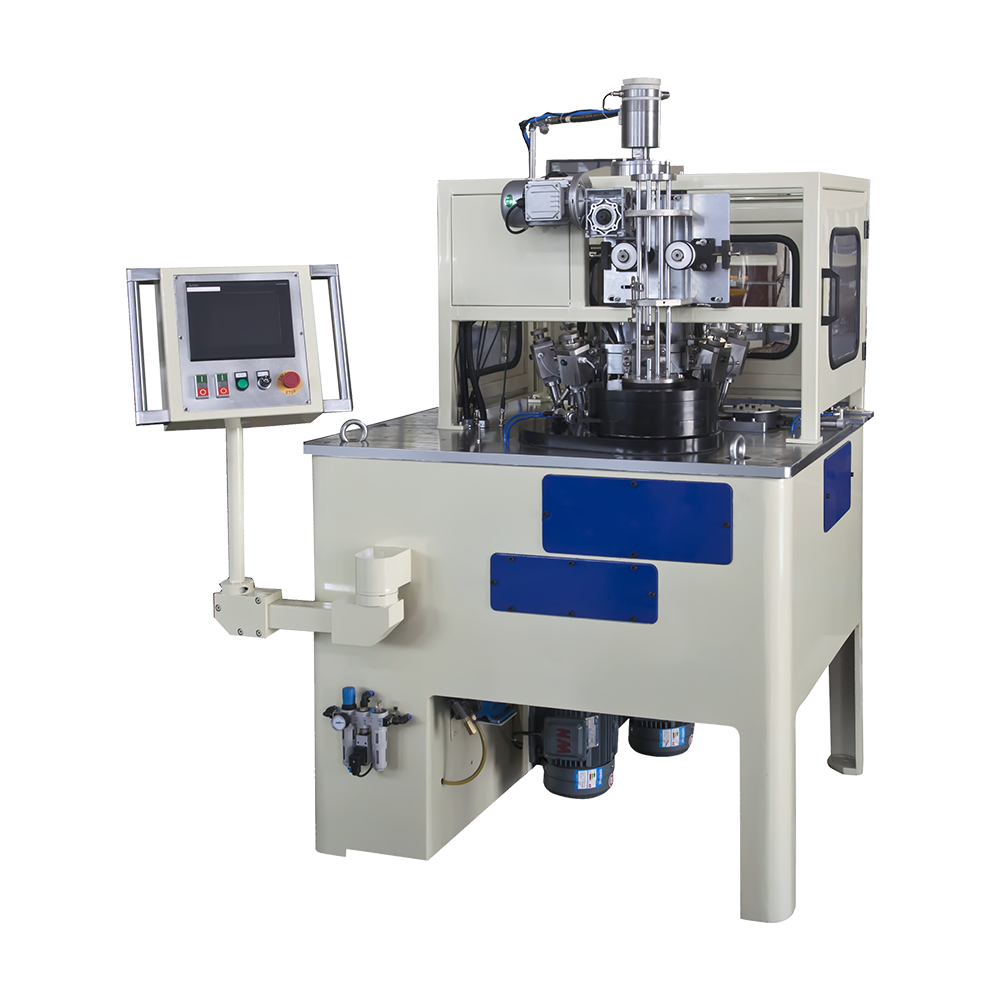
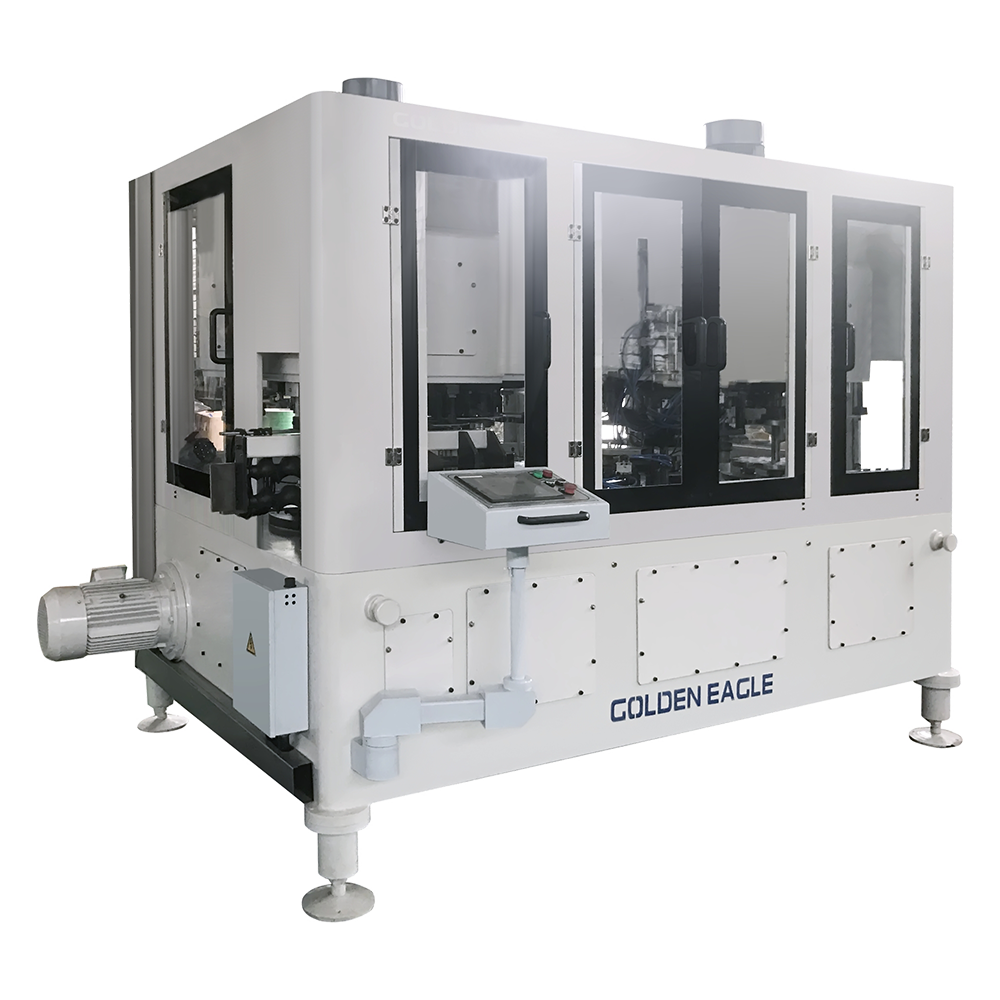 Aerosol Can Making Machines SeriesAerosol can making machines series for automatic necking, flanging, beading and seaming, with Φ45–73 mm diameters, H65–320 mm heights and 80–350 cpm capacity.View Product →
Quotations often reduce everything to a single line speed. In practice each station has its own comfortable band, and the line settles at the lowest one unless buffering is generous. The table below is a planning aid rather than a specification — ask for measured figures on the can you intend to run, at the gauge you intend to buy.
| Station | What it fixes | Indicative output | Where it usually bites |
|---|---|---|---|
| Body welder | Side seam integrity and body roundness | 200–400 cans/min | Wire and consumable cost per thousand cans |
| Cone press | Cone angle and valve cup aperture position | Matched to the welder or above | Tooling changeover between diameters |
| Dome press | Bottom dome profile and pressure resistance | Matched to the welder or above | Die wear quietly changing dome height |
| Valve cup punch | Aperture diameter, burr height, coating | Usually the fastest station | Lacquer damage around the aperture |
| Combination and seamer | Five-layer seam and leak rate | The practical line ceiling | Operator skill and seam adjustment |
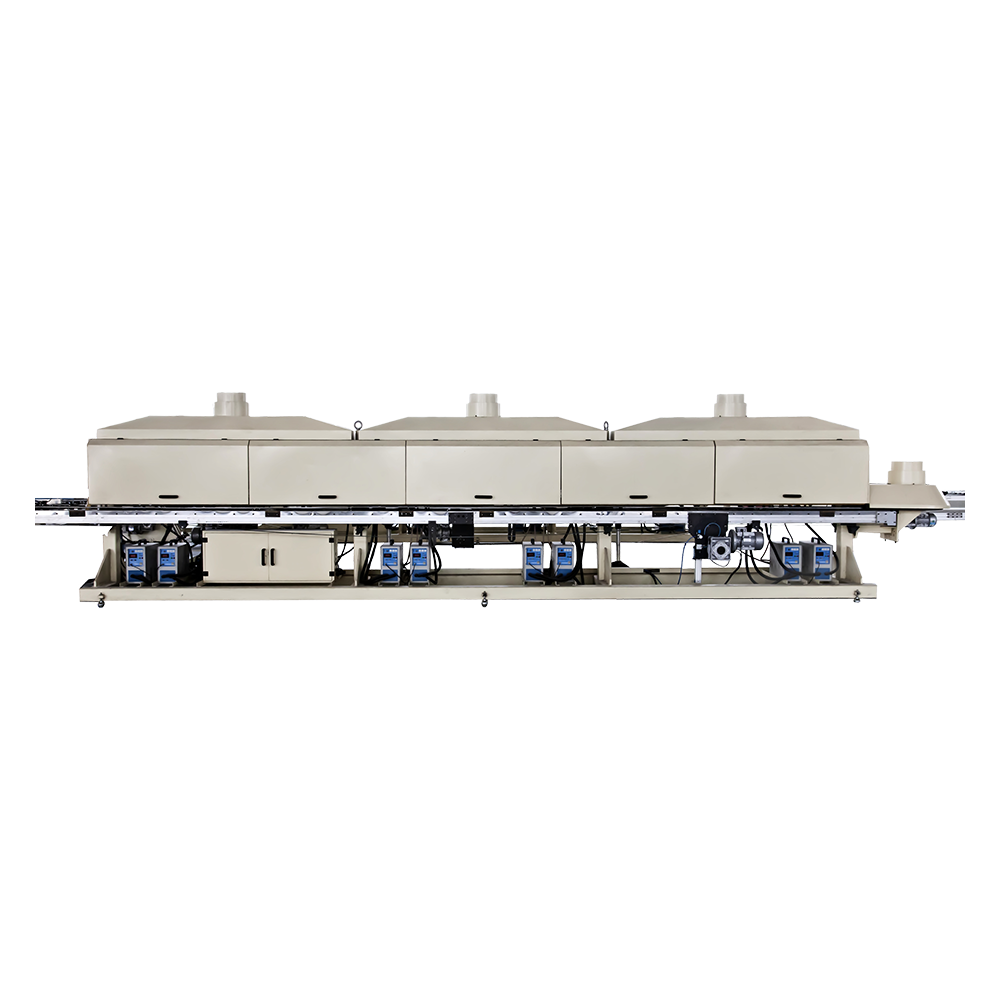
| Lining and drying | Gasket adhesion and cure | Set by oven length | Oven length capping an otherwise faster line |
| Post-repair coating | Internal protection at the welded seam | In line | Cure temperature versus lacquer type |
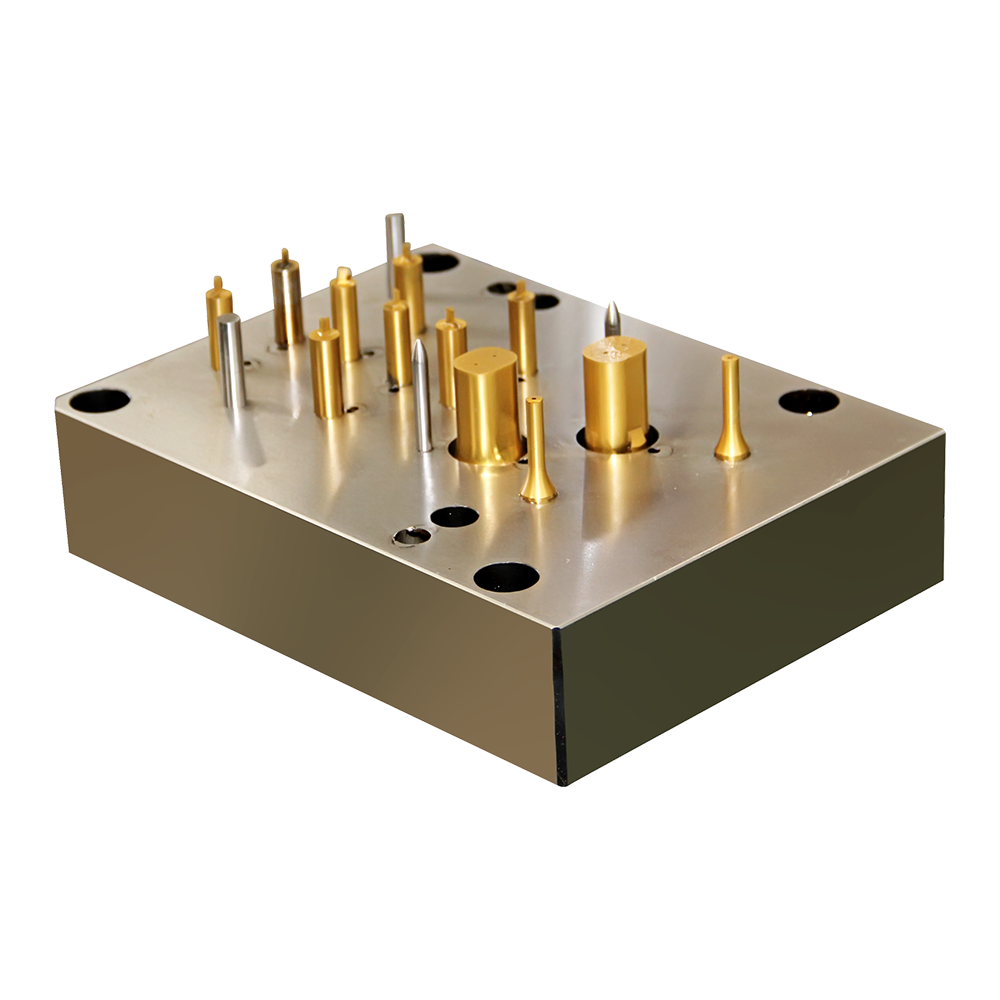
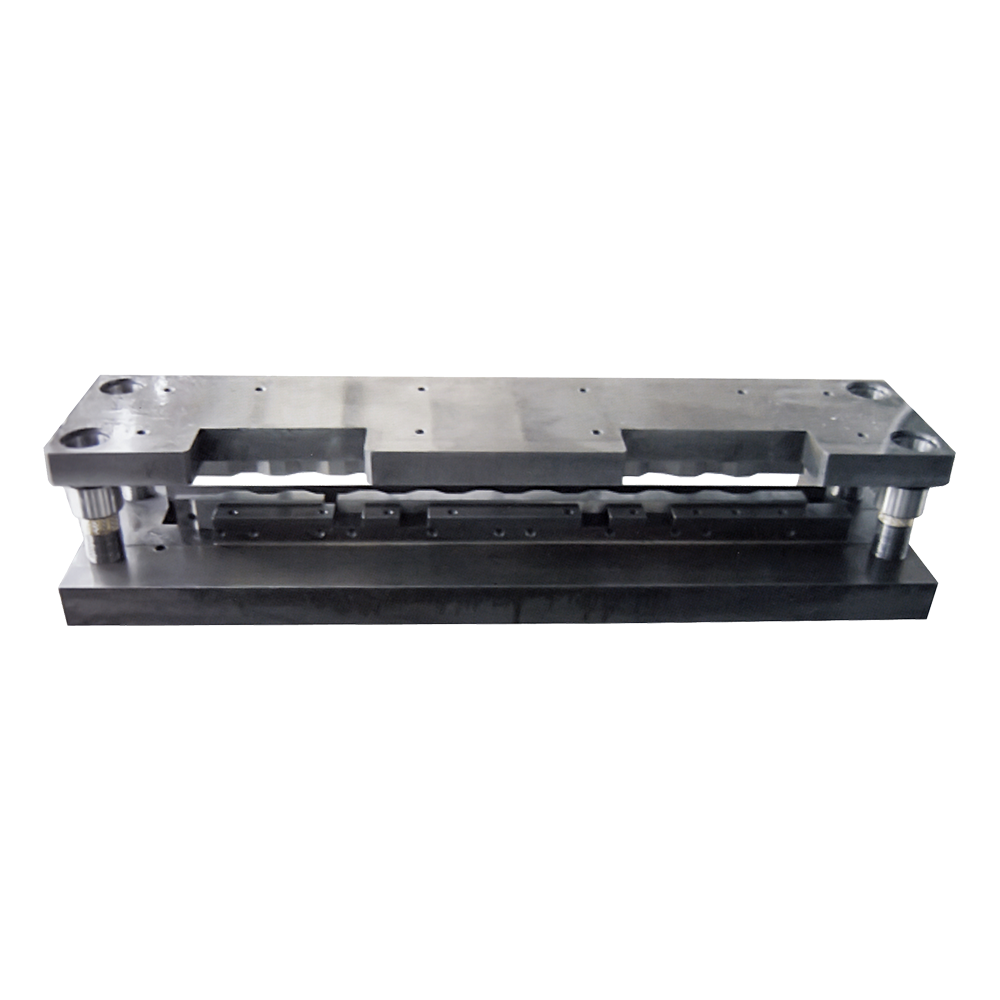
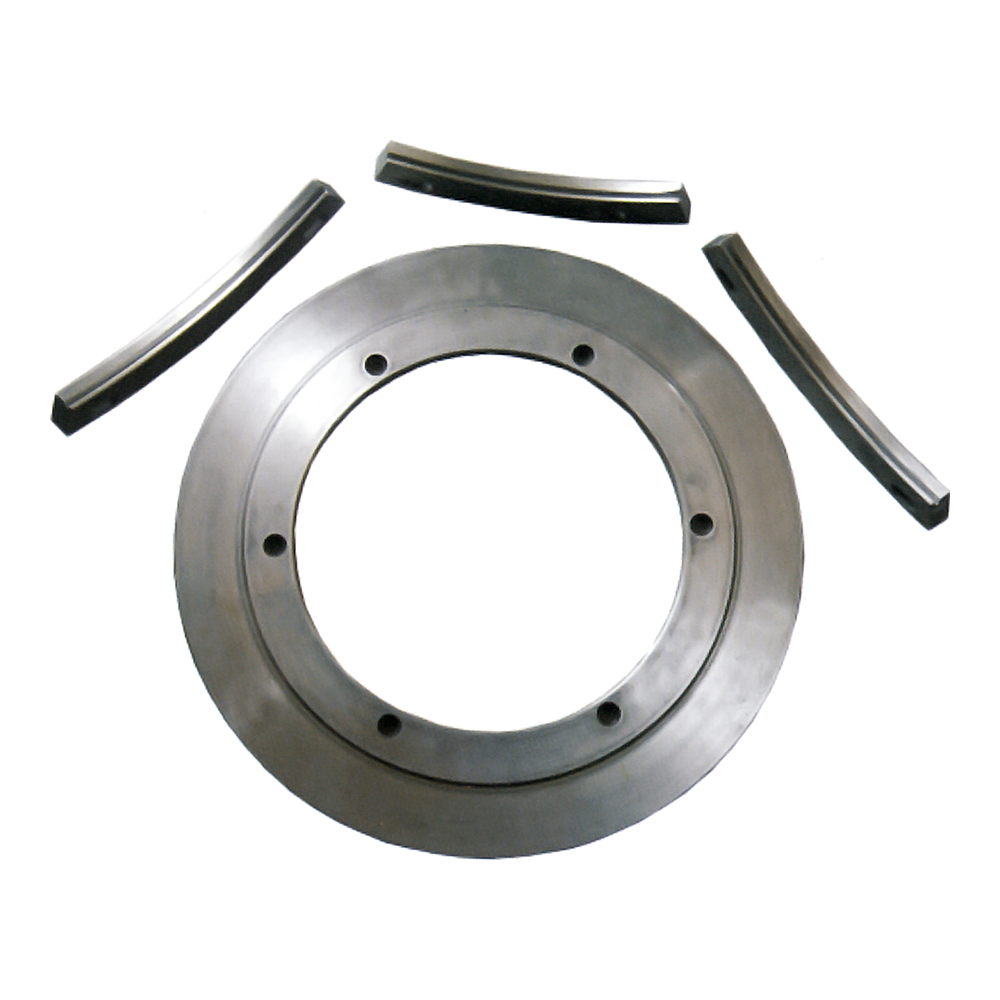
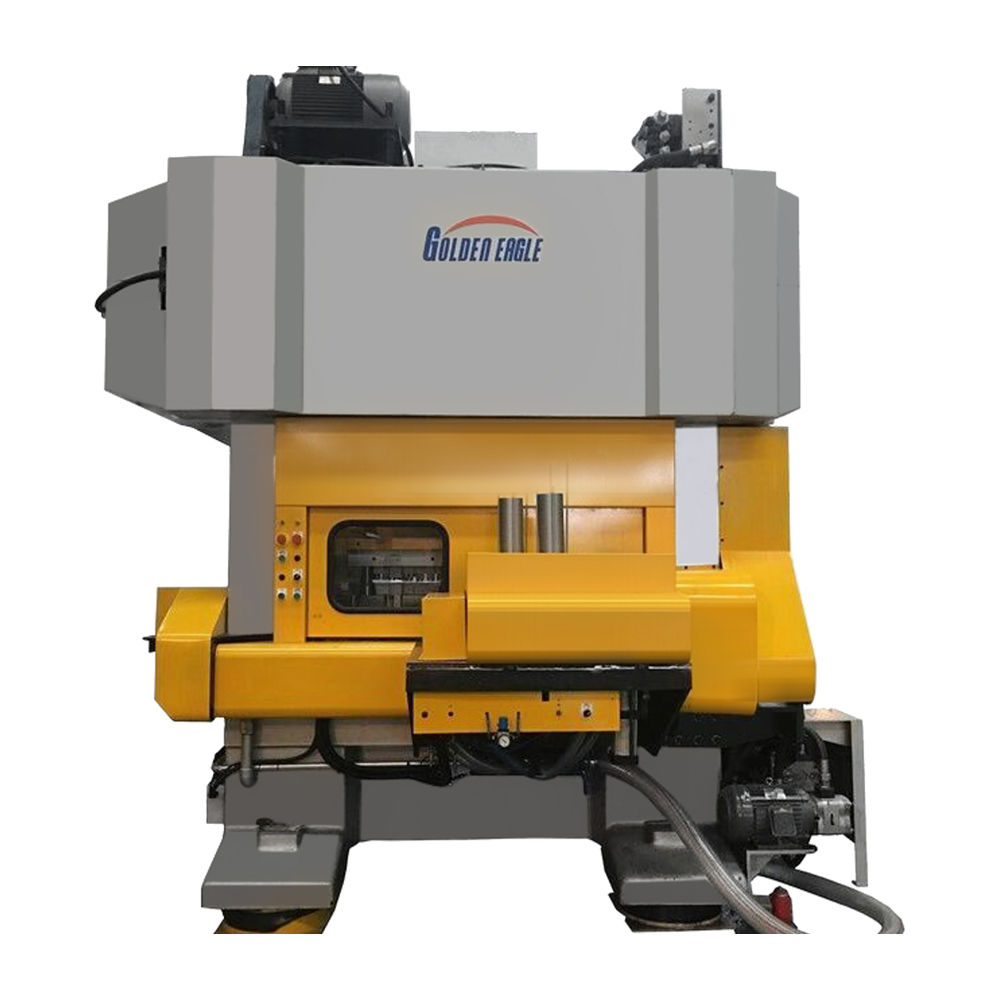
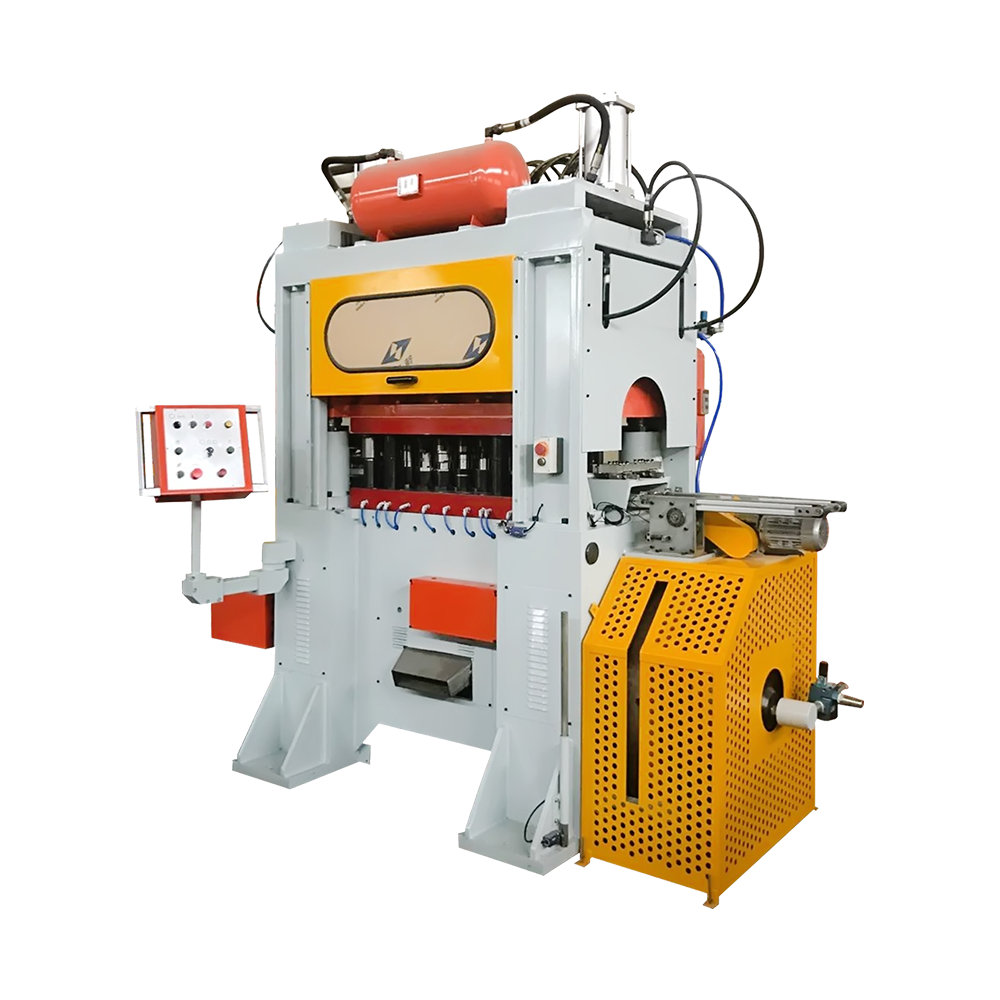 Aerosol Top Cover Punch for Can MakingPunches aerosol top covers across 109D–211D diameters, with 100 mm ram stroke, 2 channels, 120 strokes/min, 240 pieces/min capacity and 22 kW main motor.View Product →
Line configurations cluster into three bands. The chart below places them on one scale; the figures are indicative and move with can diameter, tinplate gauge and how much buffer you allow.
Two details matter more than the band itself. The first is buffer capacity: thirty to sixty seconds of accumulation between welder and combiner is often worth more than a ten percent speed increase, because it converts micro-stops into recoverable events. The second is changeover. A line that runs four diameters a week and needs six hours per change will lose more real output than a slower line that changes in ninety minutes — and the difference never appears on the quotation.
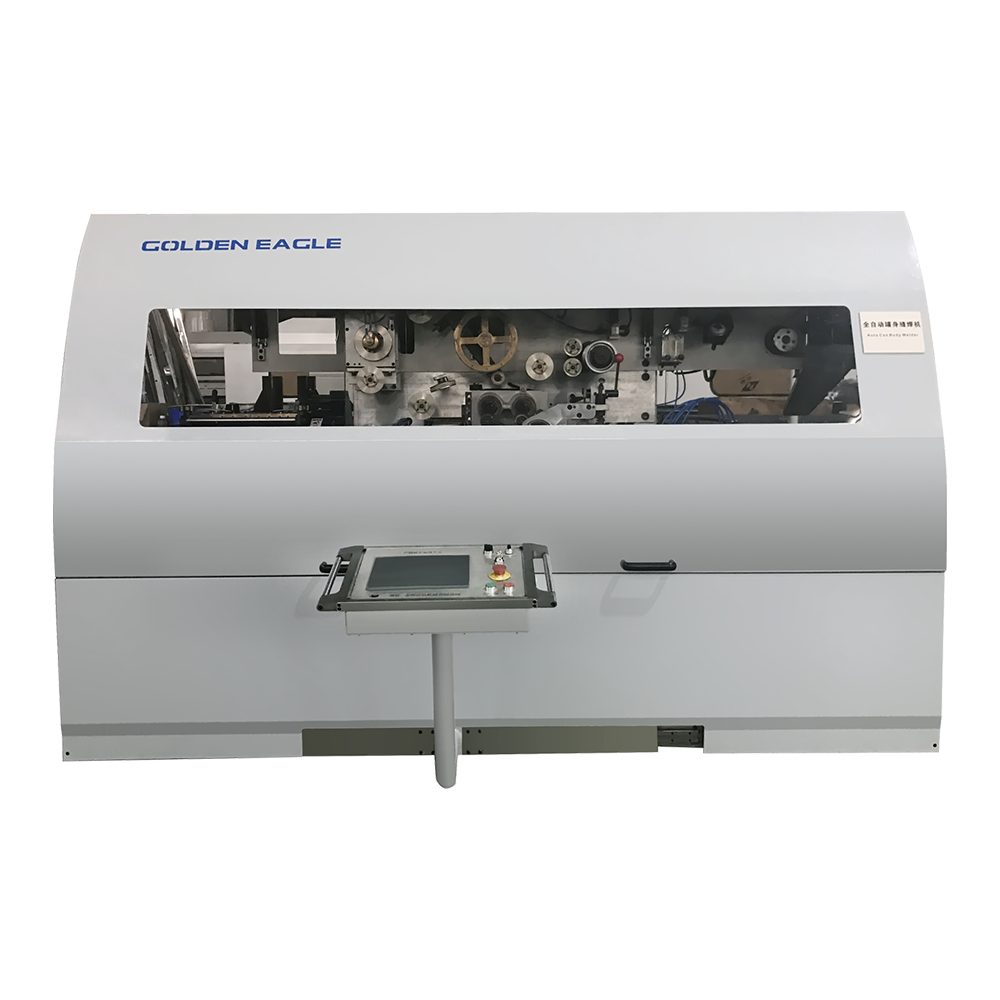 GT10C-500 Automatic Can Body WelderAutomatic tin can body seam welder for Φ52–153 mm cans and H70–320 mm heights, running at 500 cans/min with 70 m/min welding speed.View Product →
Most arguments after delivery trace back to something that was never written down. These six items are worth settling in the contract rather than in conversation:
Commissioning should end with a first-off can measurement sheet, not a handshake. Seam thickness and width, body diameter, dome height, valve cup aperture, coating weight and a leak test at the specified pressure are the numbers that will be compared for the next ten years. Keep them.
After that, the rhythm is unglamorous. Daily checks cover lubrication, air pressure and seam appearance; weekly checks cover roller condition and welding consumables; monthly checks cover die sharpness, oven temperature profile and the condition of the repair coating station. Aerosol cans fail for two reasons — a seam that drifted and a coating that thinned — and both show up in routine measurement long before they show up in a customer complaint.
Look for a supplier whose range covers the body train, the ends and the seaming stage, because matched stations are easier to commission than three machines from three vendors. Zhejiang Jinying Food Machinery has been building can making machinery and tooling in Zhoushan since 1978, has produced more than 10,000 can and end-making units, and works to ISO 9001 and ISO 14001; its aerosol range runs from the body and cone equipment through the top cover punch and the automatic body welder, with tooling made in-house. That combination matters most during the first month, when a seam problem should be one phone call rather than a three-way negotiation.
If you are still narrowing the field, this guide on how to choose an aerosol can making machine covers the commercial side of the decision, while the full can making machinery range shows how the aerosol stations sit alongside food, chemical and end-making lines. Start with the format envelope and the slowest station; the speed figure will follow.
Related Products

Founded in 1978, the company is one of the largest can-making machinery well-known companies at home and abroad.
Product Categories
Contact Information
Zhongshatou Shenjiamen Zhoushan Zhejiang China
+86-580-3056646

 English
 中文简体
 русский
 عربى
 Español