2026-09-17
A canned-food producer recently asked us to quote a line for 330 ml beverage cans. Their first question was not about price. It was about speed: cans per minute, double-shift reliability, and the scrap rate to budget for. Those are the right questions to start with.
The conclusion first: choose a can making machine by can size and material, output per shift, and the seam and coating quality your filling line needs. Automation level, tooling, and after-sales support come after those three. This article covers machine types, the forming and welding process, cost drivers, and maintenance habits that keep a can line profitable.
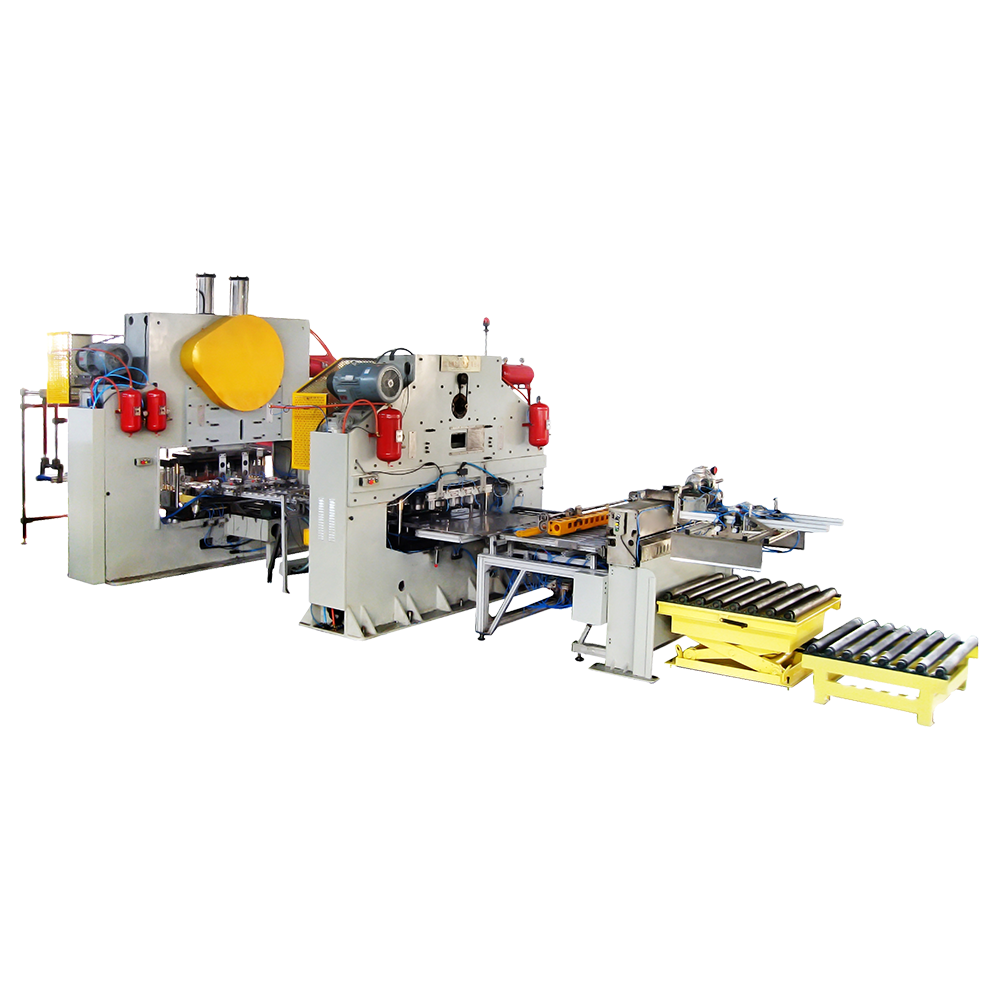
A can making machine turns coated steel sheet, usually tinplate, into finished metal containers. Most food and beverage plants use three-piece lines: the machine cuts a flat blank, bends it into a cylinder, welds the side seam, applies a protective stripe over the weld, then flanges the body so a seaming station can roll on the bottom end and the lid. Two-piece lines, which draw a cup from a single disc, suit some beverage and aerosol formats, but three-piece production still dominates canned food, milk powder, and chemical products because it adapts more easily to short runs and frequent size changes.
A complete line covers four stages:
Manufacturers combine several operations into one press, which is why machines are named by station count. A single-station, two-station, three-station, or four-station combiner performs that many operations in one cycle, and the station count directly affects output per minute and floor space.
Can making machines are grouped by the container they produce and by how many forming stations one press contains. Choose the machine family first; verify speed and tooling within that family second.
These produce round tinplate cans for fruit, vegetables, seafood, meat, and soft drinks. A three-station combiner folds, flanges, and forms the body in one sequence; a four-station combiner adds necking, which reduces the top diameter so a smaller, cheaper lid can be used. Necking saves lid material but adds tooling complexity, so the choice between three and four stations is a cost-versus-flexibility decision.
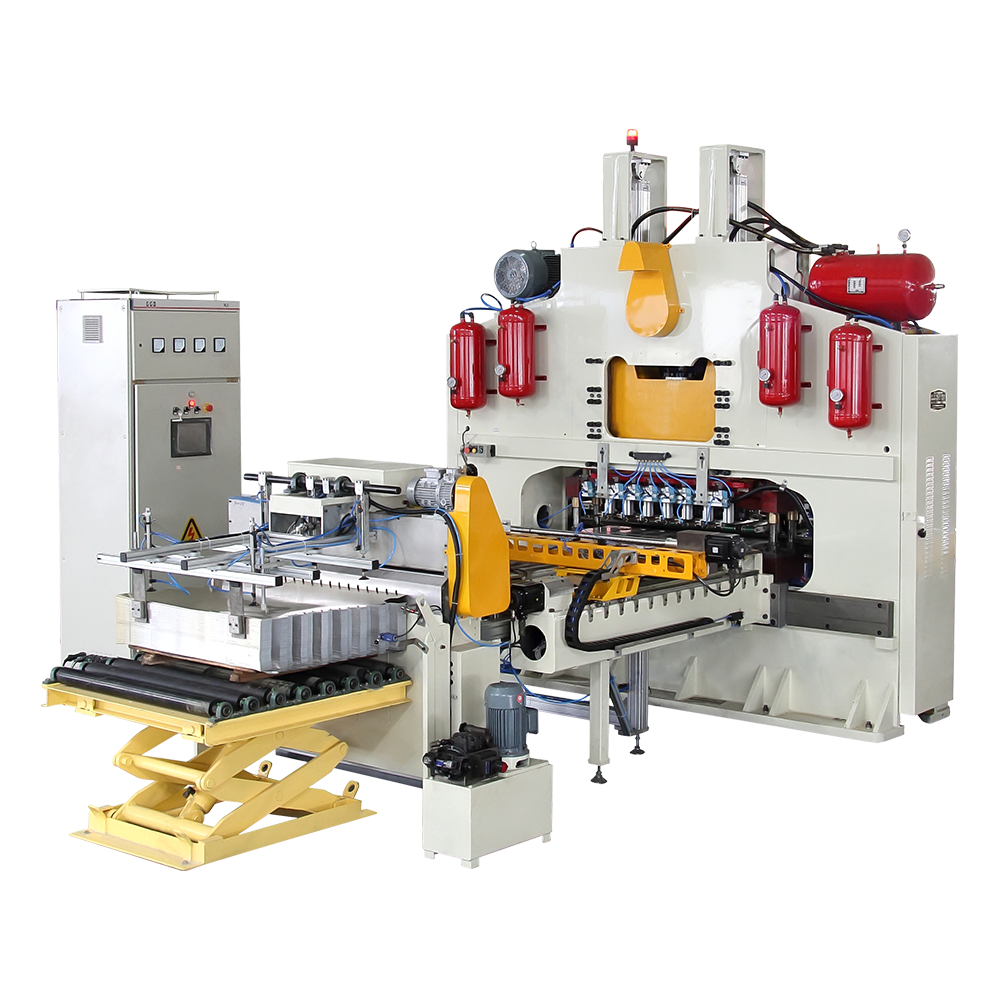
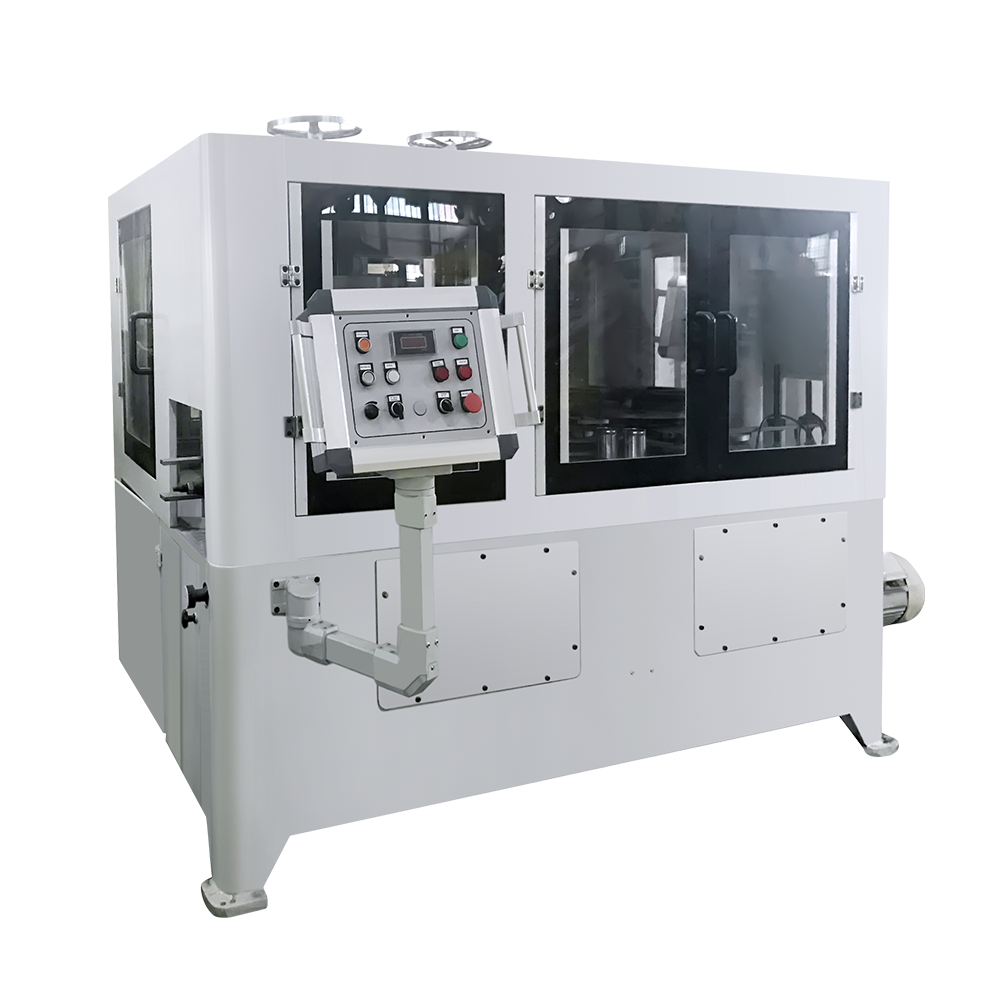 High-Performance Necking Flanging Beading Can Making MachineThis automatic 8-head combiner handles necking, flanging, and beading for food cans sized D52-99 mm, ideal when narrow size ranges make changeovers rare and seam integrity is critical.View Product →
Milk powder cans are large-diameter containers that are usually nitrogen-flushed to preserve freshness. Seams must hold gas, and body dimensions must stay stable across long runs. Single-station and double-station combiners dominate this segment because can size ranges are narrow and changeovers are rare.
Aerosol cans operate under internal pressure, so wall thickness consistency and weld quality are critical. An aerosol line normally couples a body welder with a punch that forms the cone or dome top. The forming force for the cone is higher than for a flat end, and burst testing becomes part of normal production control.
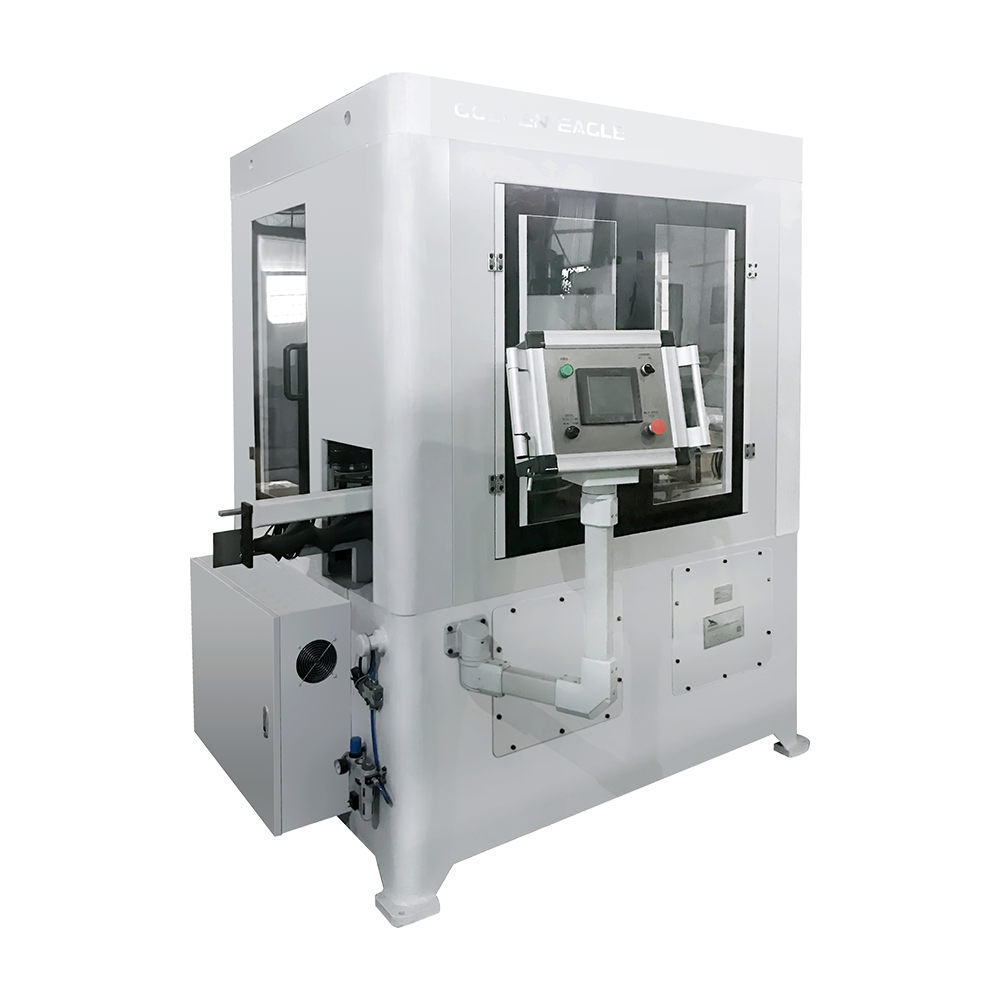
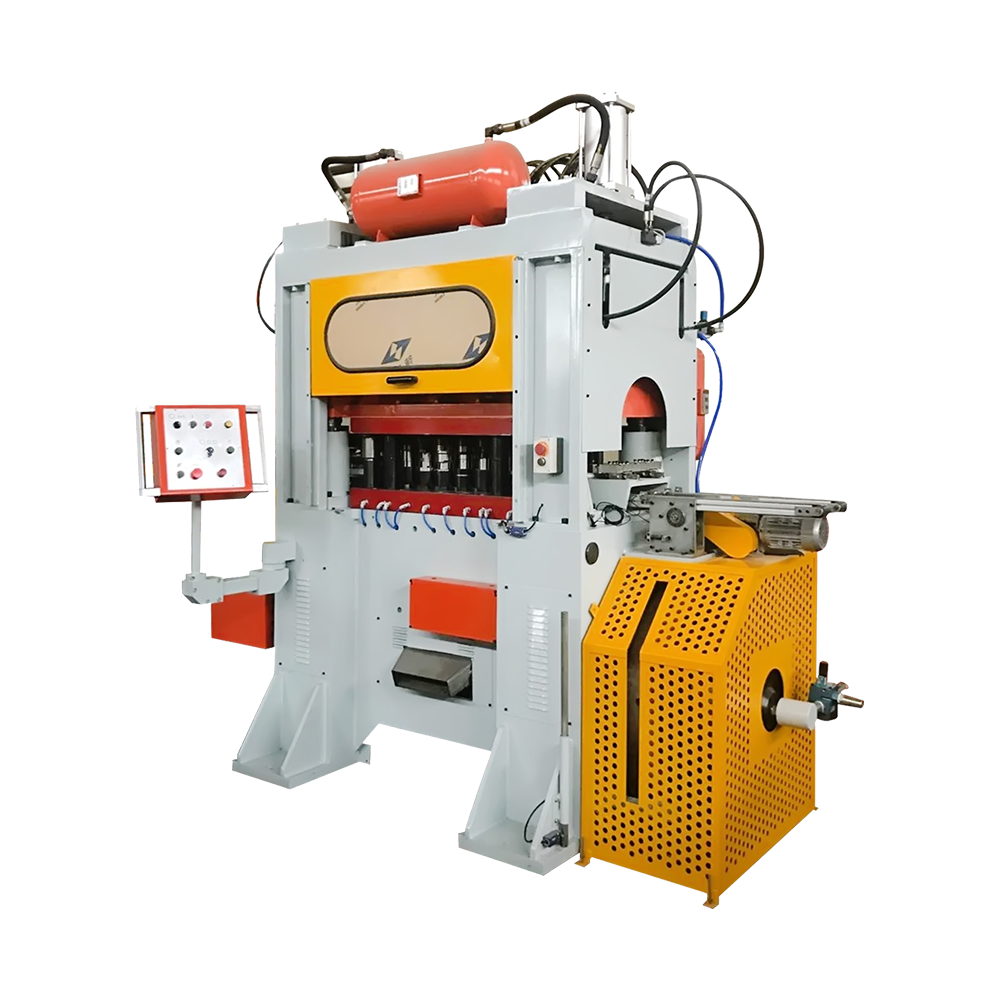
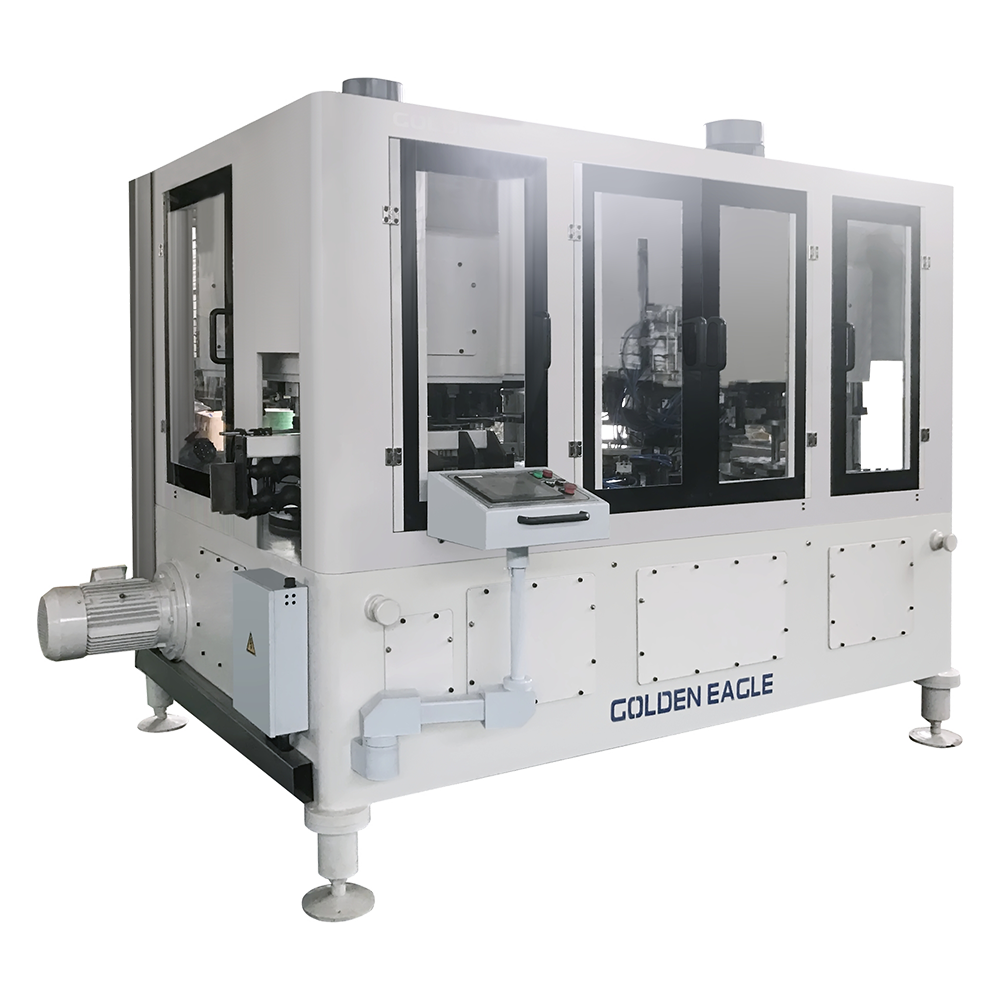 High-Speed Aerosol Can Production Line with Forming PunchThis automatic line combines necking, flanging, beading, and seaming for aerosol cans with heights up to 320 mm, featuring a CNC-controlled punch for high-force cone forming.View Product →
Chemical cans carry paints, lubricants, thinners, and agrochemicals, often in thicker tinplate. They need heavier forming capacity and weld settings matched to thicker sheet, because chemical contents are more corrosive than most food products.
Ends and lids are the most demanding products to make. An end cover line stamps shells, and an EOE conversion press forms the scoreline, rivets the tab, and embosses the ring. Small die wear shows up quickly as poor opening performance. Producers who make their own lids avoid a common supply bottleneck, because lead times for lids are often longer than for can bodies.
| Machine family | Can formats produced | Typical design | Common end users |
|---|---|---|---|
| Food and beverage combiners | Round three-piece cans | Three- or four-station combiner | Canneries, beverage fillers |
| Milk powder combiners | Large round gas-tight cans | Single- or double-station combiner | Dairy and infant-formula packers |
| Aerosol lines | Pressure-rated aerosol cans | Body welder plus cone and dome press | Personal-care, household, technical aerosols |
| Chemical can lines | Heavy-gauge round cans | Reinforced press and high-current welder | Paints, lubricants, agrochemicals |
| End cover and EOE lines | Shells and easy-open ends | End press plus conversion press | Can plants, food producers running own lids |
A three-piece line follows a fixed sequence. Understanding it makes quotes easier to compare and maintenance easier to plan. The sequence applies to most food, beverage, milk powder, and chemical can lines.
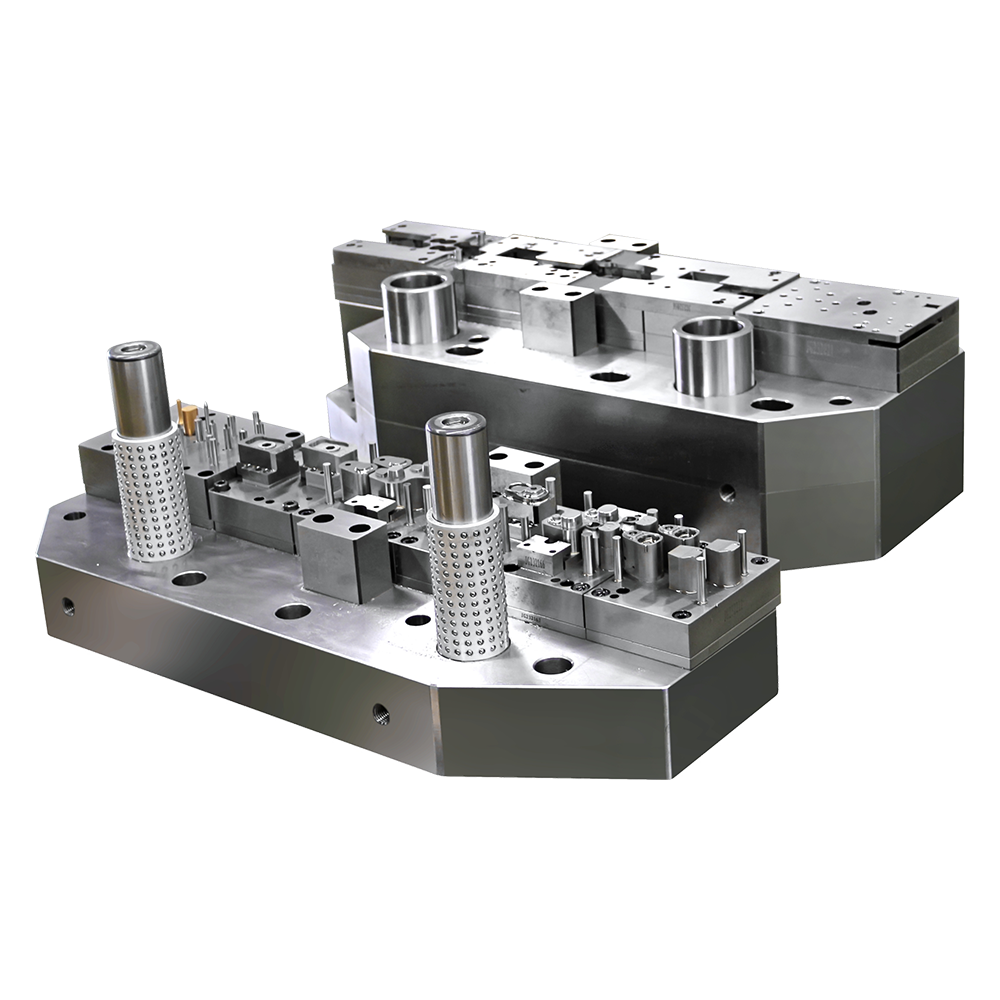
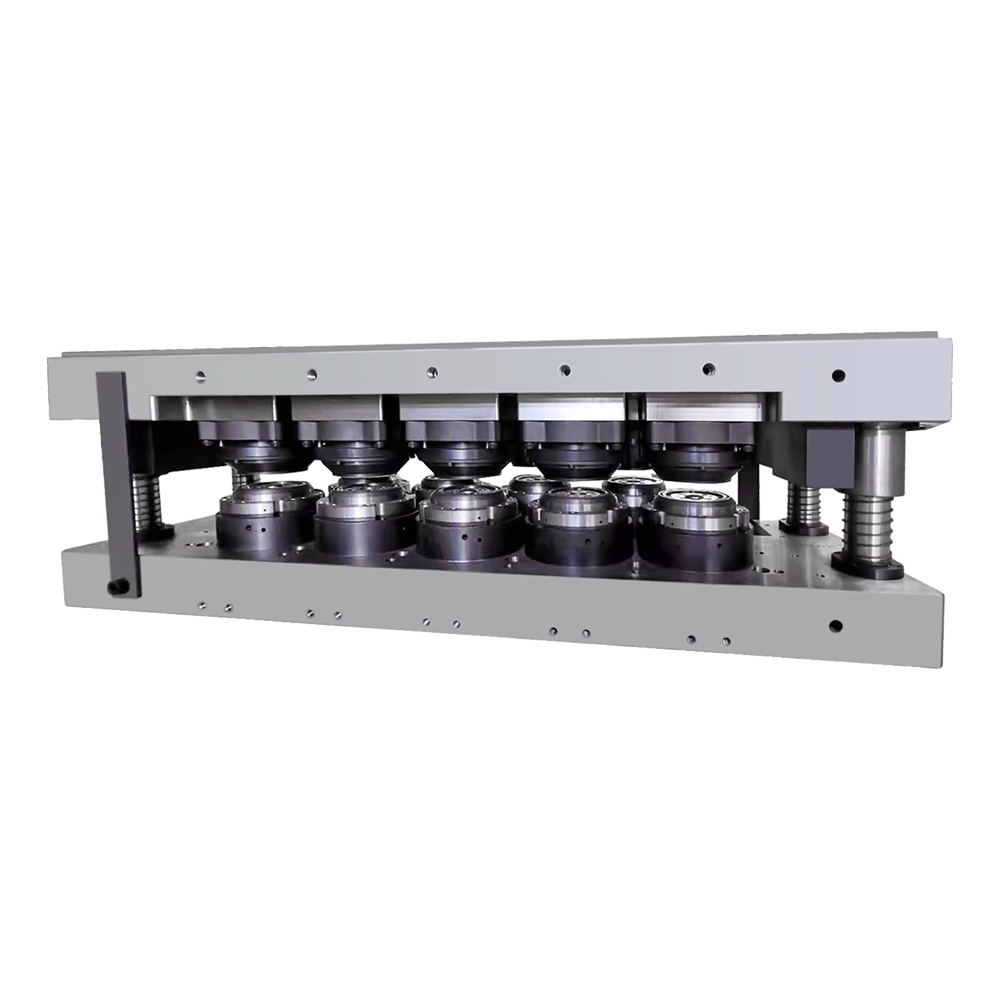
In combiner machines, several of these steps happen inside one press, so a combiner line uses less space and needs fewer operators than separate single-purpose machines. The trade-off is more complex tooling: one fault in a station stops the whole combiner.
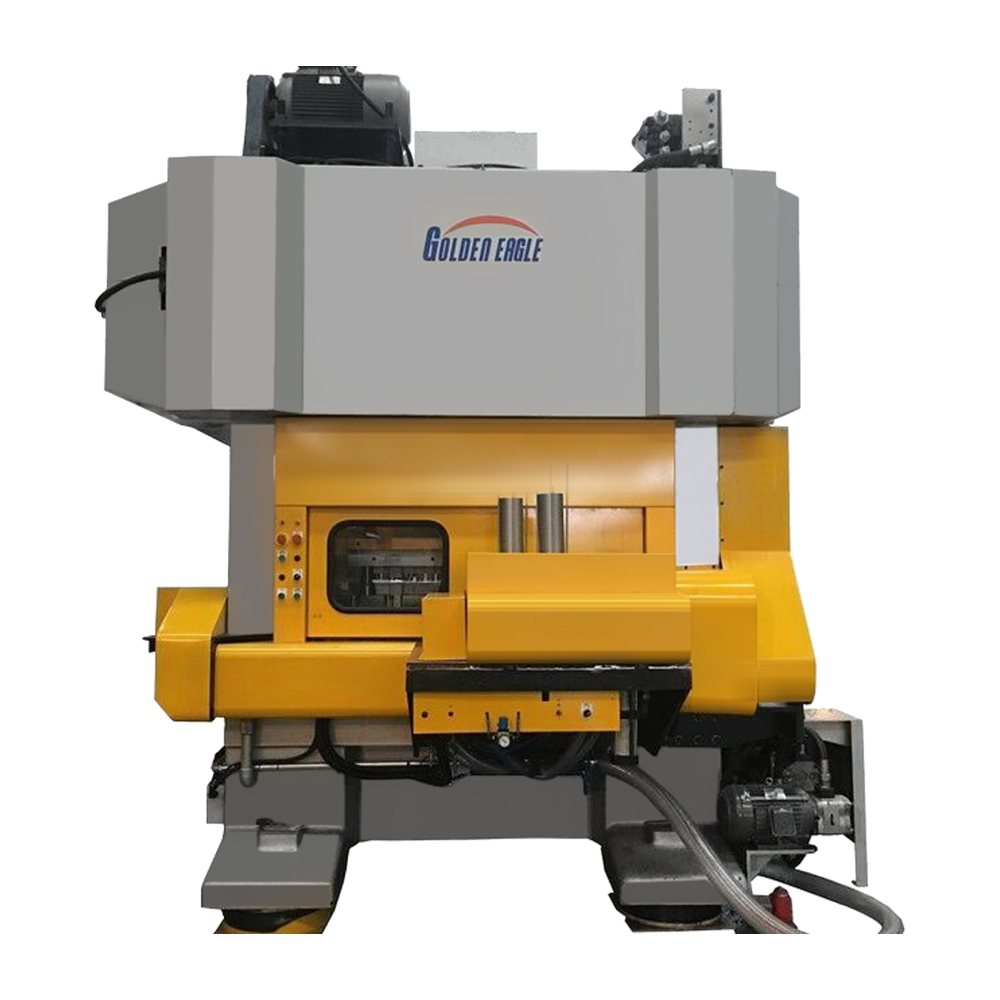
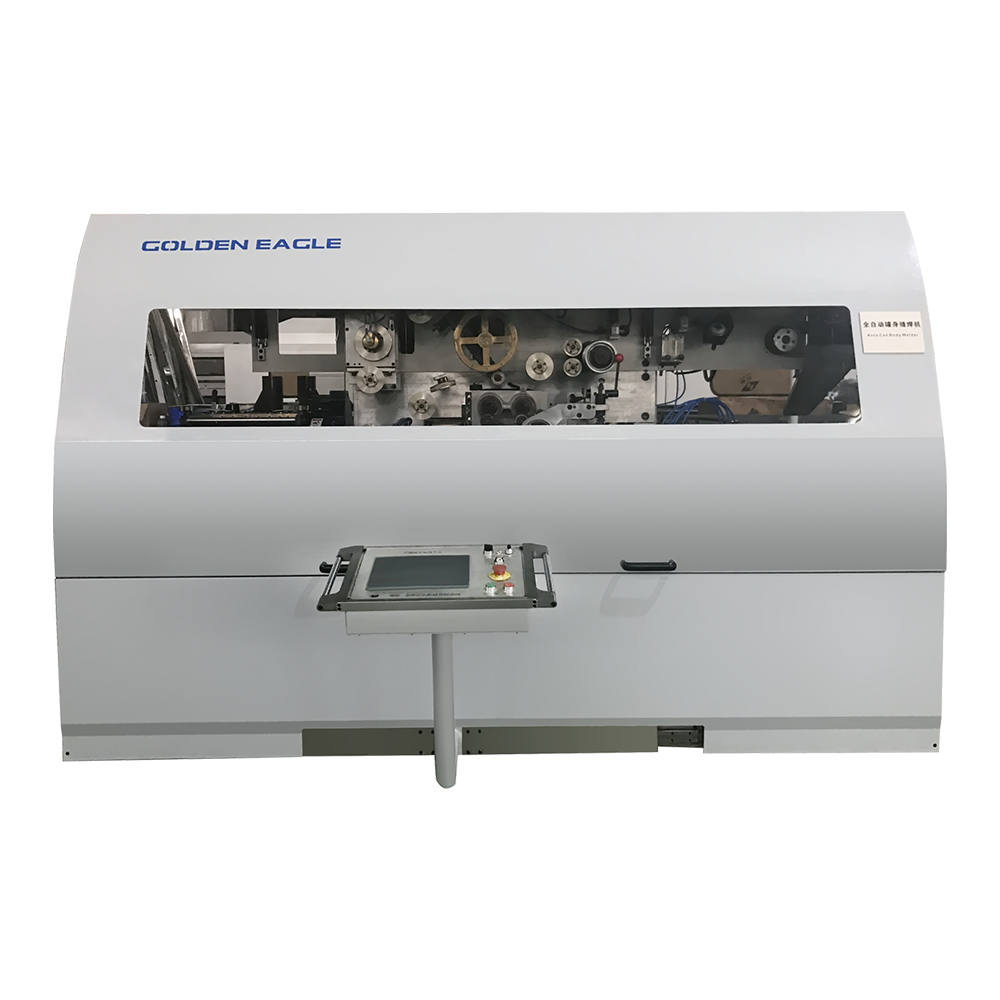 500cpm GT10C-500 Automatic can body welder MachineAutomatic Can Welder Tin Can Welding Machine High SpeedView Product →
Once the machine family is selected, evaluate five filters. They matter more than brand reputation and can be verified before you sign an order.
For step-by-step selection, follow our guide on how to choose the right can making machine before requesting quotes.
The machine price is only part of the investment. A complete setup includes the combiner or separate presses, the body welder, side-stripe coating and drying, the end cover line or EOE line, change tooling for each can size, installation, training, and an initial stock of wear parts. Compare the full line scope, not the headline machine price.
Four factors move the cost the most:
The useful comparison is cost per million cans produced, not cost per machine. A slightly more expensive line with lower scrap and shorter changeovers usually pays back within two years.
A can making machine is a mechanical press with welding current and coating chemistry on top. Most unplanned stops come from the same few places: worn seaming rolls, dirty slitter blades, misadjusted welding electrodes, and missing lubrication. A simple schedule prevents the majority of them.
Record scrap counts per shift; a rising scrap rate is usually the first sign of tool wear. Our maintenance notes for can making machines describe these checks in more detail.
Start the project with a one-page specification: can dimensions, sheet thickness and coating, target cans per shift, lid format, and the list of planned size changes. Match it to the machine families above, then verify output, scrap rate, and tooling support with the supplier before signing. A line selected this way will hold nameplate speed, maintain seam quality, and deliver a predictable cost per can for many years.
Related Products

Founded in 1978, the company is one of the largest can-making machinery well-known companies at home and abroad.
Product Categories
Contact Information
Zhongshatou Shenjiamen Zhoushan Zhejiang China
+86-580-3056646

 English
 中文简体
中文简体
 русский
 عربى
عربى
 Español