2026-11-05
An aerosol line rated at 200 cans per minute can still lose a full shift a week to two things: cone and dome tooling that drifts out of tolerance, and a seamer running faster than the welder feeding it. Buyers who insist on a witnessed test run before signing usually catch both; buyers who compare only price per unit almost never do.
The short version is that aerosol can making sits closer to pressure-vessel fabrication than to ordinary packaging. Tinplate thickness, side seam overlap, cone angle, dome depth and the valve cup bore are all decided by the internal pressure the finished can must hold at elevated temperature and the deformation it must survive without leaking. Set those parameters correctly and a new line settles down within a week. Set them badly and you will be sorting leakers for the life of the machine.
Most aerosol cans are built as three formed parts: a welded cylindrical body, a cone for the top and a dished bottom, with the valve cup opening punched into the cone. Two-piece designs draw the body and bottom from a single cup and add a separate cone, but the sequence of operations is broadly the same:
Two details in that sequence explain most quality complaints. Steps 2 and 6 each create a pressure boundary, so a defect introduced at the welder tends to surface at the leak tester. And the cone press runs on a stroke rate that rarely divides neatly into the welder's speed, which is why buffer capacity between the two matters more than the nameplate figure on either machine.
Nameplate speed tells you what the slowest machine can do. Service records tell you where the hours go. On a three-piece aerosol line running three shifts, unplanned downtime clusters around assembly and the cone press rather than the welder, because those stations combine the tightest tolerances with the heaviest tooling wear.
Indicative share of unplanned downtime by stage on a three-piece aerosol line
Figures are indicative and drawn from typical service patterns; your own distribution will depend on can size, plate gauge and SKU count.
The practical implication is that money spent on a faster welder often buys nothing, while money spent on tooling repeatability at the press and on seamer adjustment discipline usually buys several points of output. Ask for measured changeover time between two can diameters as well: on lines running three or four sizes, changeover frequently costs more hours than breakdowns.
The cone is the most demanding part on the line. It has to hold a valve cup bore that lets the valve seat and crimp without leaking, keep a curl that seams cleanly to the body, and stay concentric enough that the finished can stands square in a filling line. A bore that drifts by a tenth of a millimetre is enough to create slow leaks that only appear after weeks in storage.
Dome depth and profile matter for a different reason. The bottom is dished inward so internal pressure pushes it against the seam rather than away from it; a shallow or badly radiused dome buckles at test pressure even when every other dimension sits at nominal.
| Stage | Critical dimension | Typical check | Symptom if it drifts |
|---|---|---|---|
| Body blank | Width and squareness | Shear setup, burr height | Weld skips, seam leakage |
| Body weld | Overlap and nugget width | Tear-down, lacquer coverage | Pinholes after lacquering |
| Neck and flange | Flange diameter, runout | Go/no-go gauge, dial indicator | Mis-feed, false seams |
| Cone | Valve cup bore, cone height | Plug gauge, height gauge | Valve cup leak, poor valve seating |
| Dome | Depth and profile radius | Profile template | Base buckling at test pressure |
| Double seam | Seam thickness, width, hook | Seam micrometer, tear-down | Leak at test pressure, burst failure |
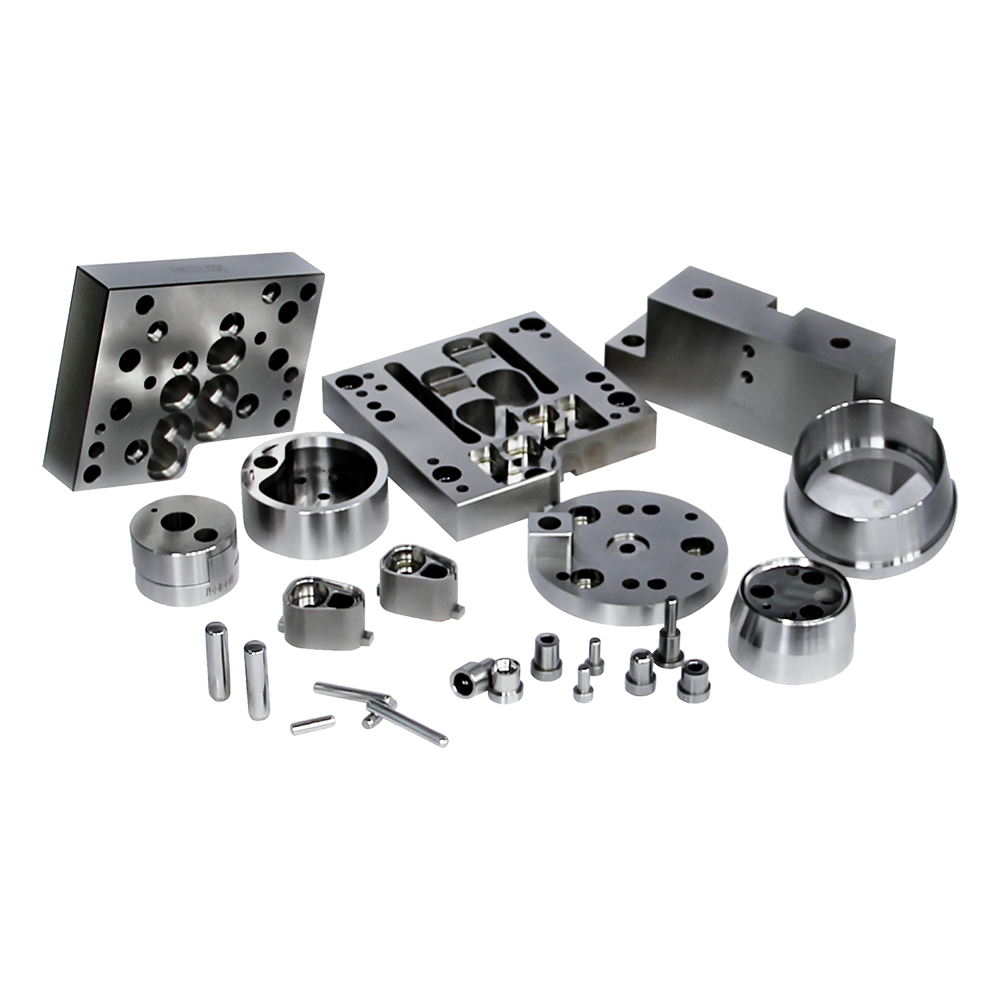
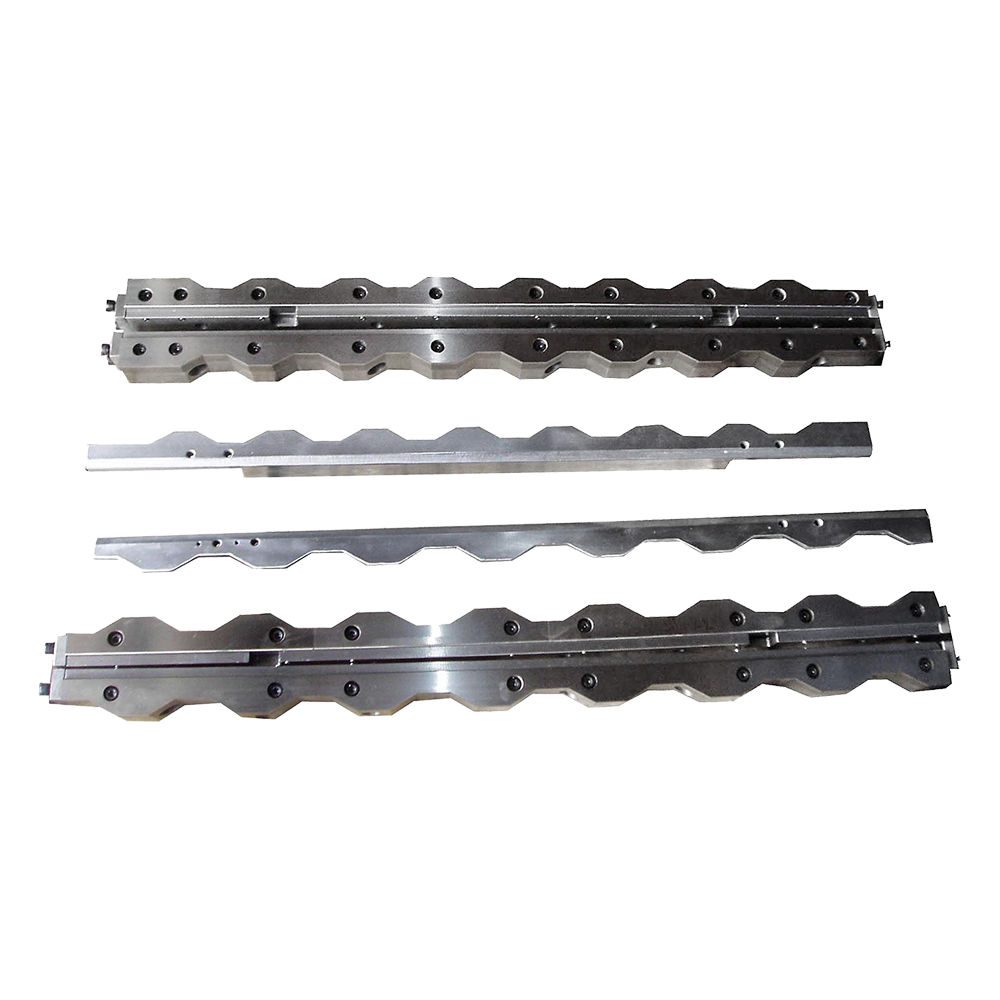
Tooling quality drives this more than press tonnage. Punches and dies need consistent heat treatment and clearance, and double-row tooling only pays off when the press and feed are rigid enough to hold both rows in tolerance across a full shift.
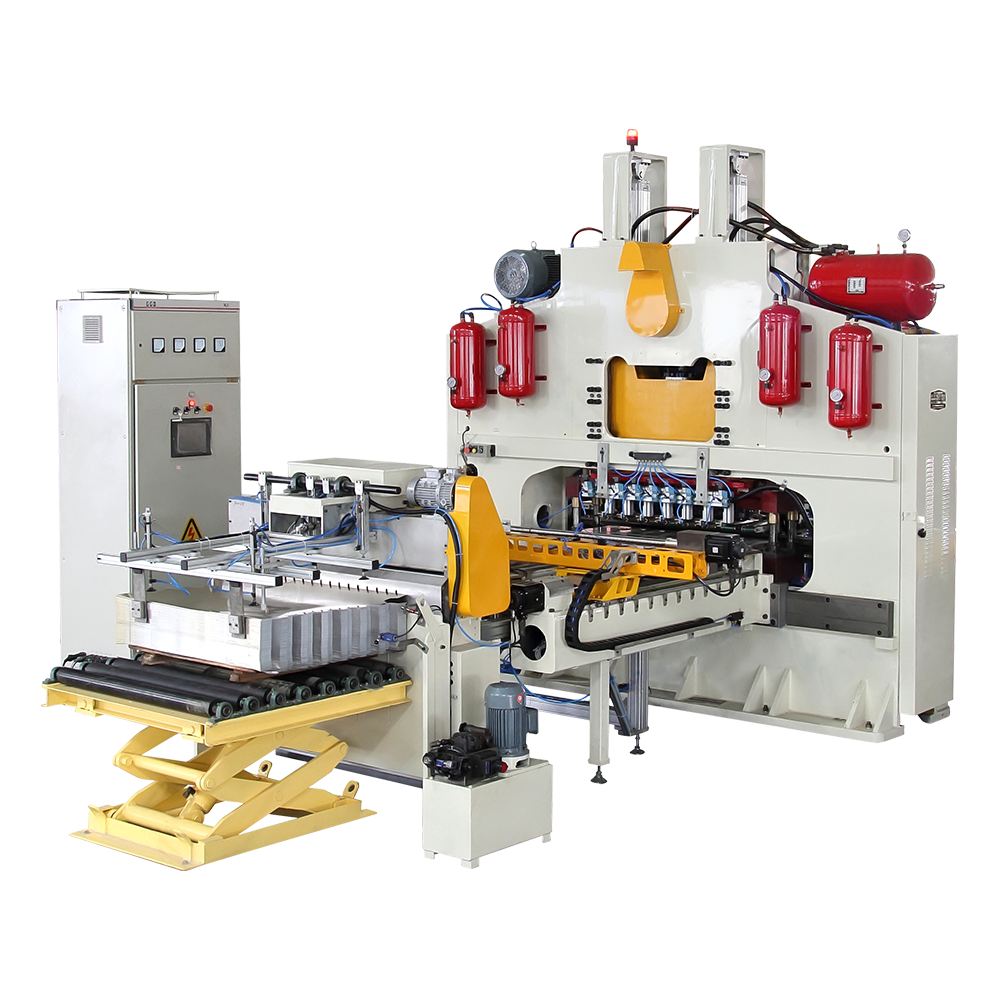
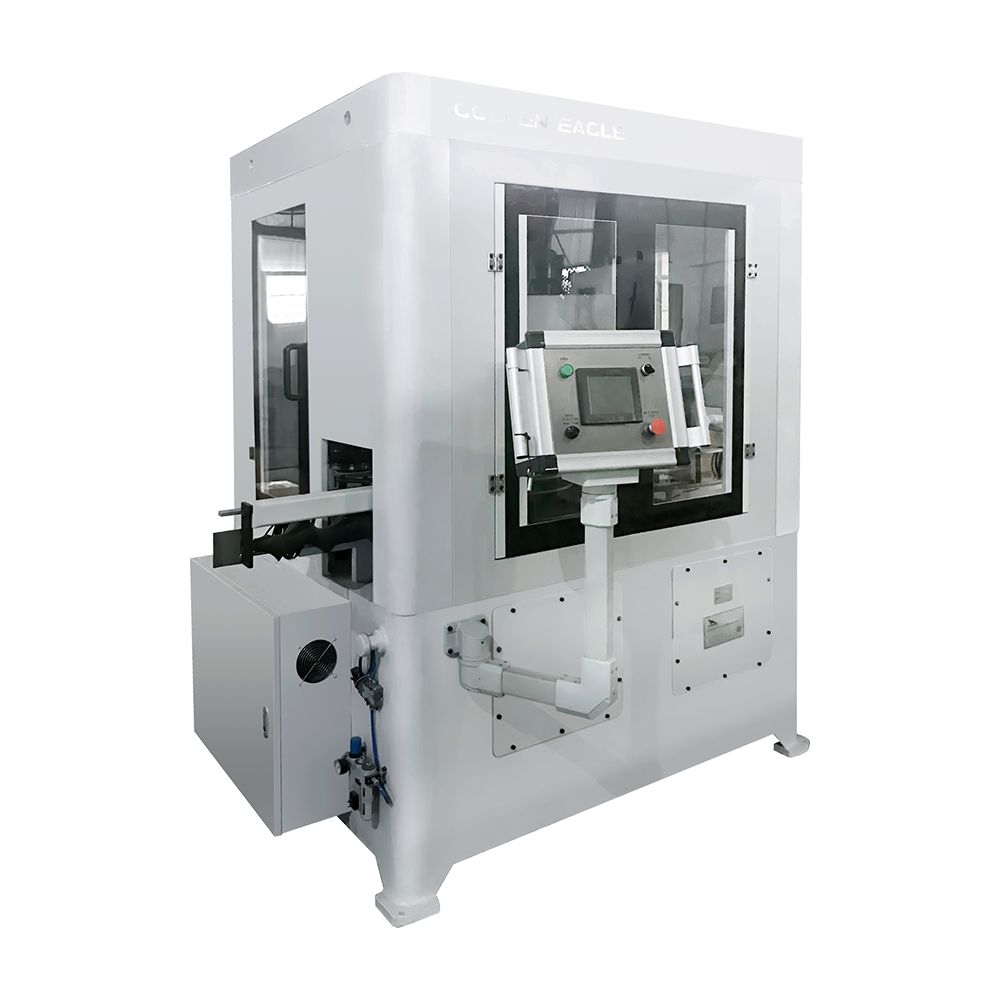
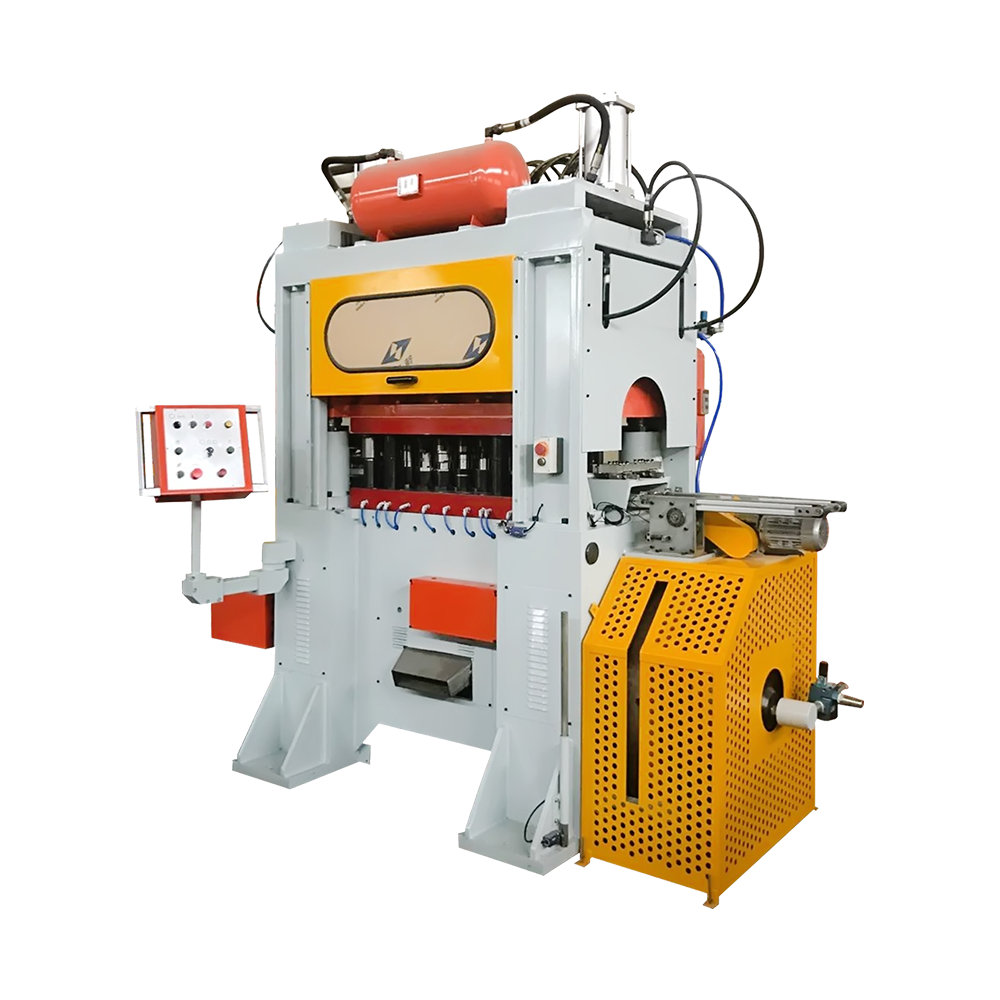 Aerosol Top Cover Punch for Can-Making LinesAerosol top cover punching machine with 109D–211D range, two channels and up to 120 strokes per minute for can-making lines.View Product →
Aerosol bodies are welded, not soldered, and the weld is only as good as the preparation in front of it. Blank edges must be square and burr-free, the overlap has to stay inside a narrow band, and the copper wire electrode needs dressing and replacement on a schedule rather than on failure. Weld current, speed and squeeze pressure interact, so a line that runs cleanly at 180 cans per minute can show sporadic cold welds at 220 unless the schedule is re-qualified.
After welding, the seam is lacquered and cured. Skipped coverage there does not show up until the leak tester, and by then a whole pallet may be suspect. If you intend to run aggressive products, specify the welder, the lacquer unit and the curing oven as one system rather than three separate purchases.
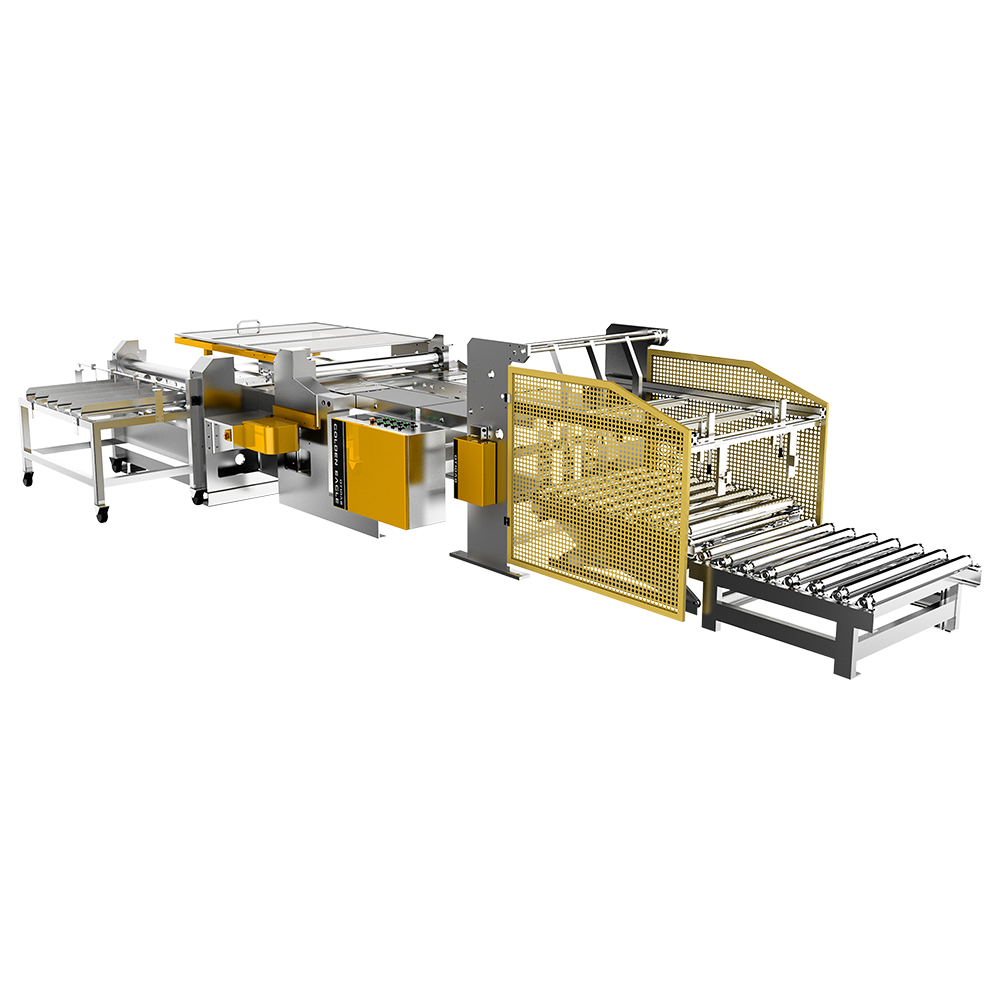
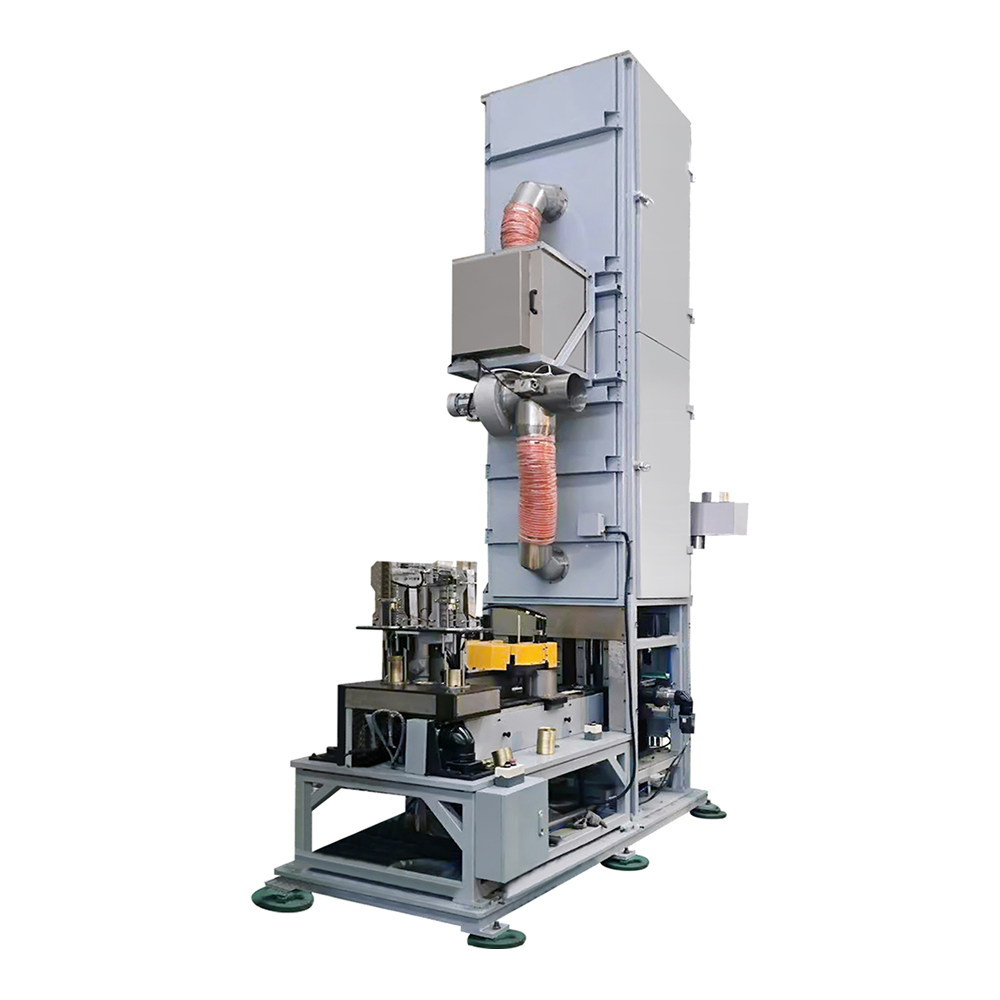
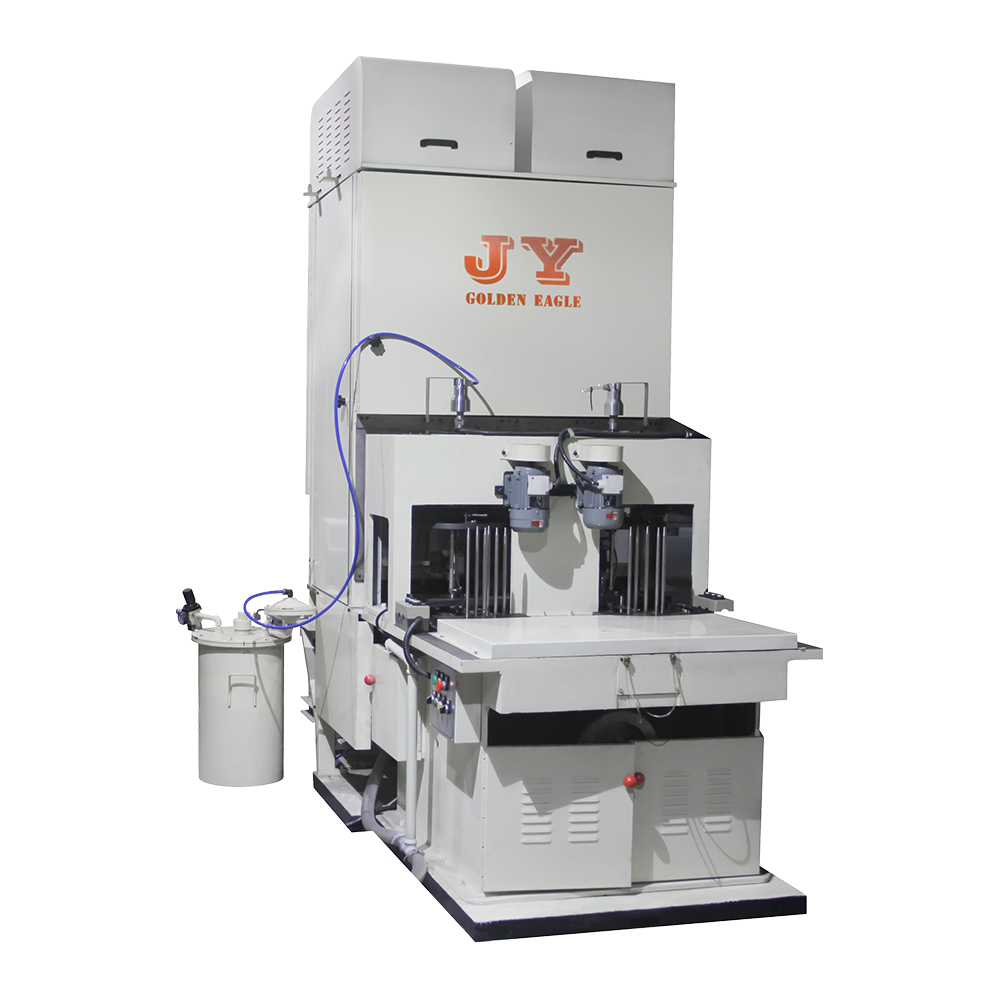
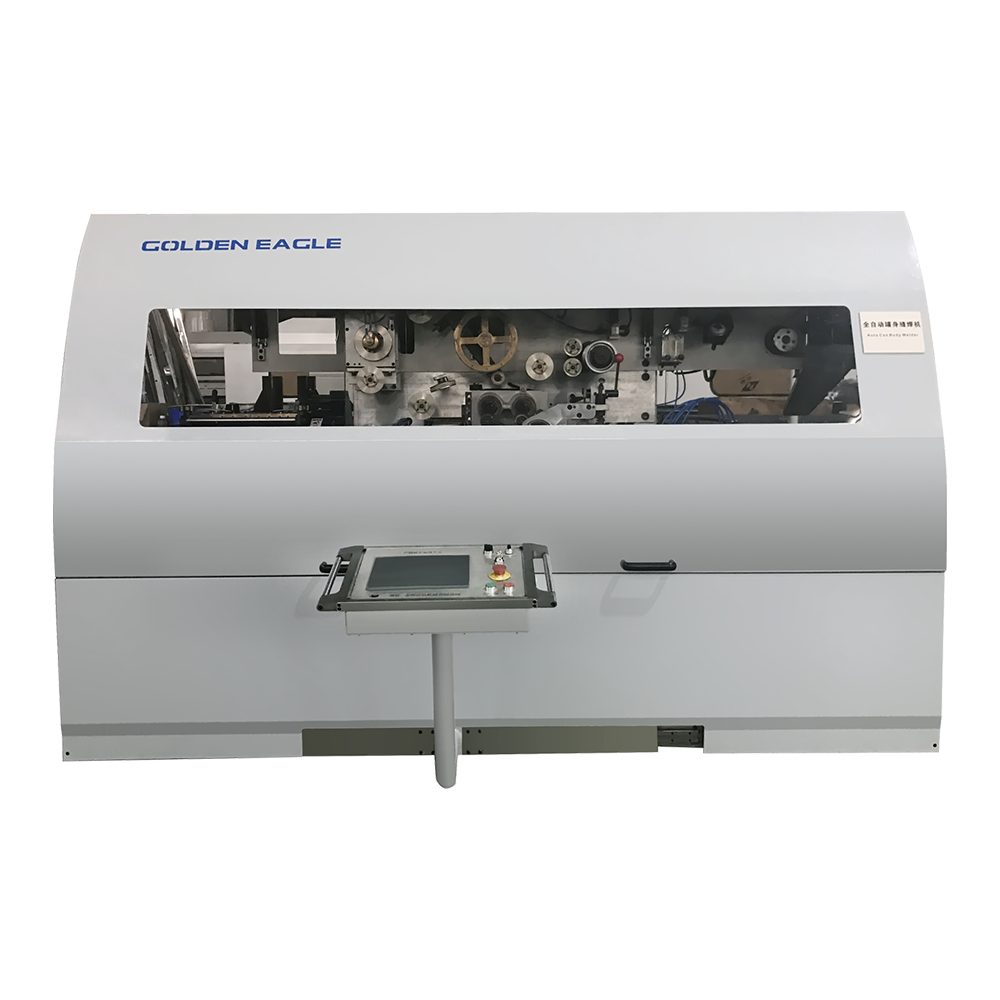 GT10C-500 Automatic Can Body WelderAutomatic 500 cpm seam welder for tin can bodies, with Φ52–180 mm diameter and 0.16–0.30 mm sheet thickness for high-speed lines.View Product →
Projects that go wrong were usually specified on speed and price alone. These are the checks that separate a workable line from a brochure.
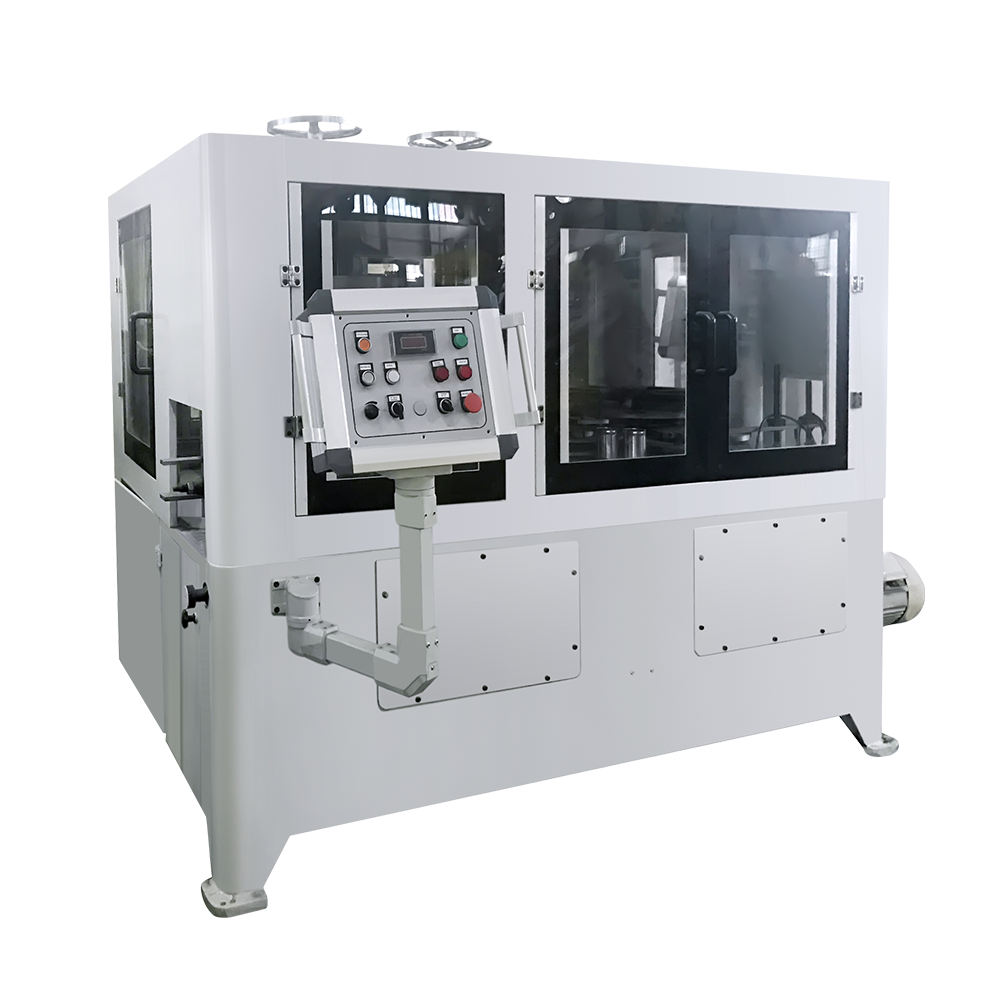
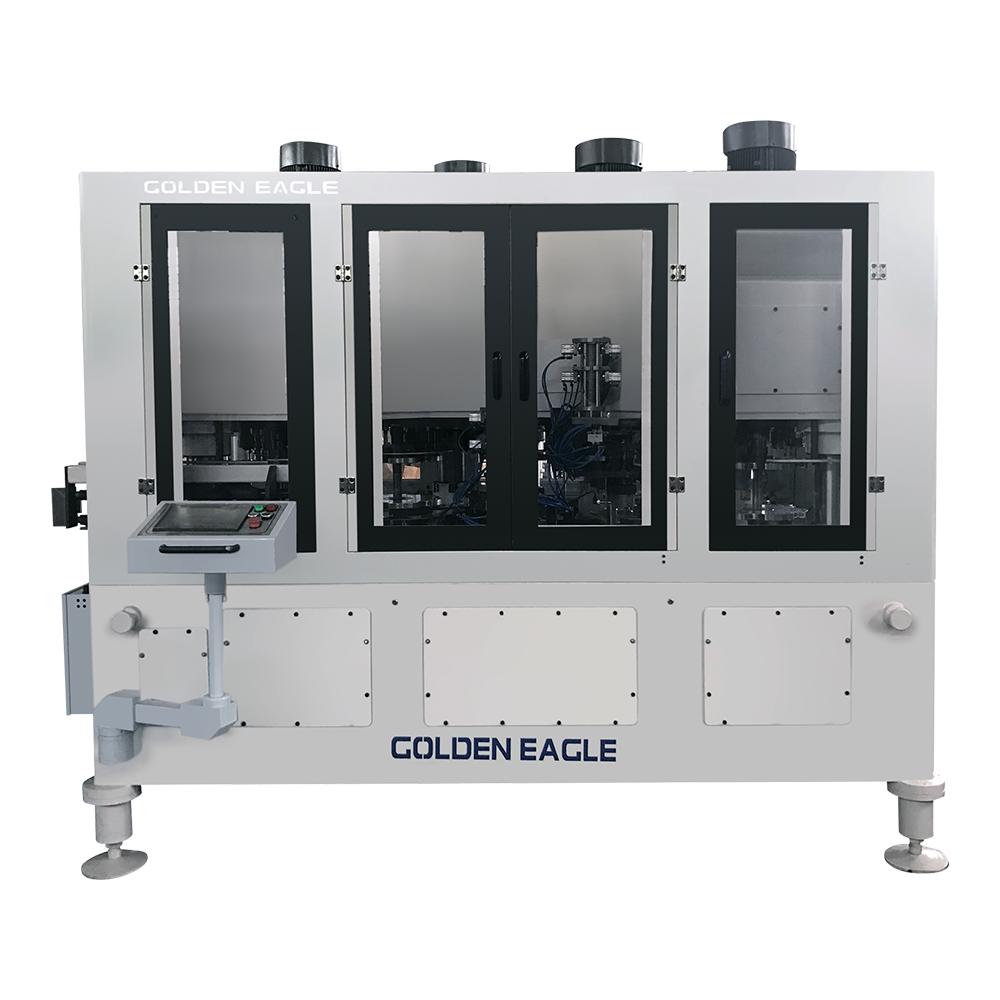
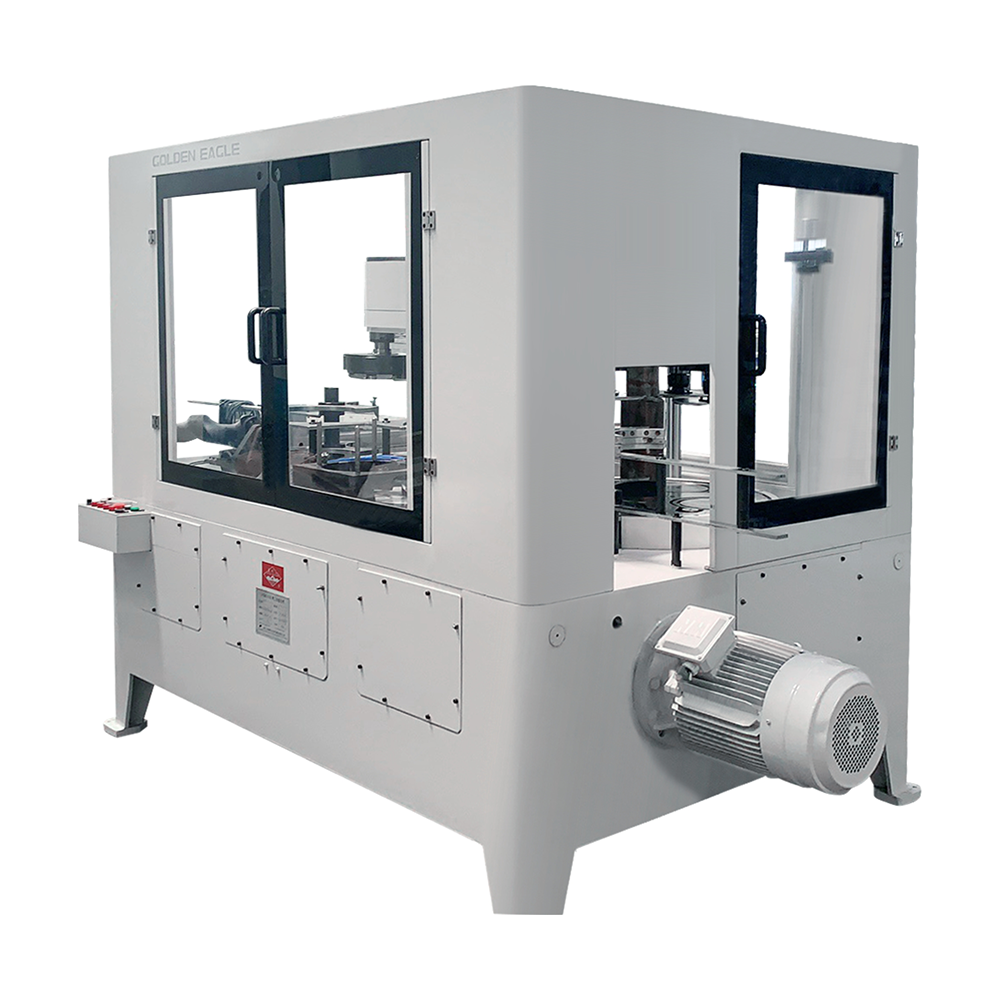
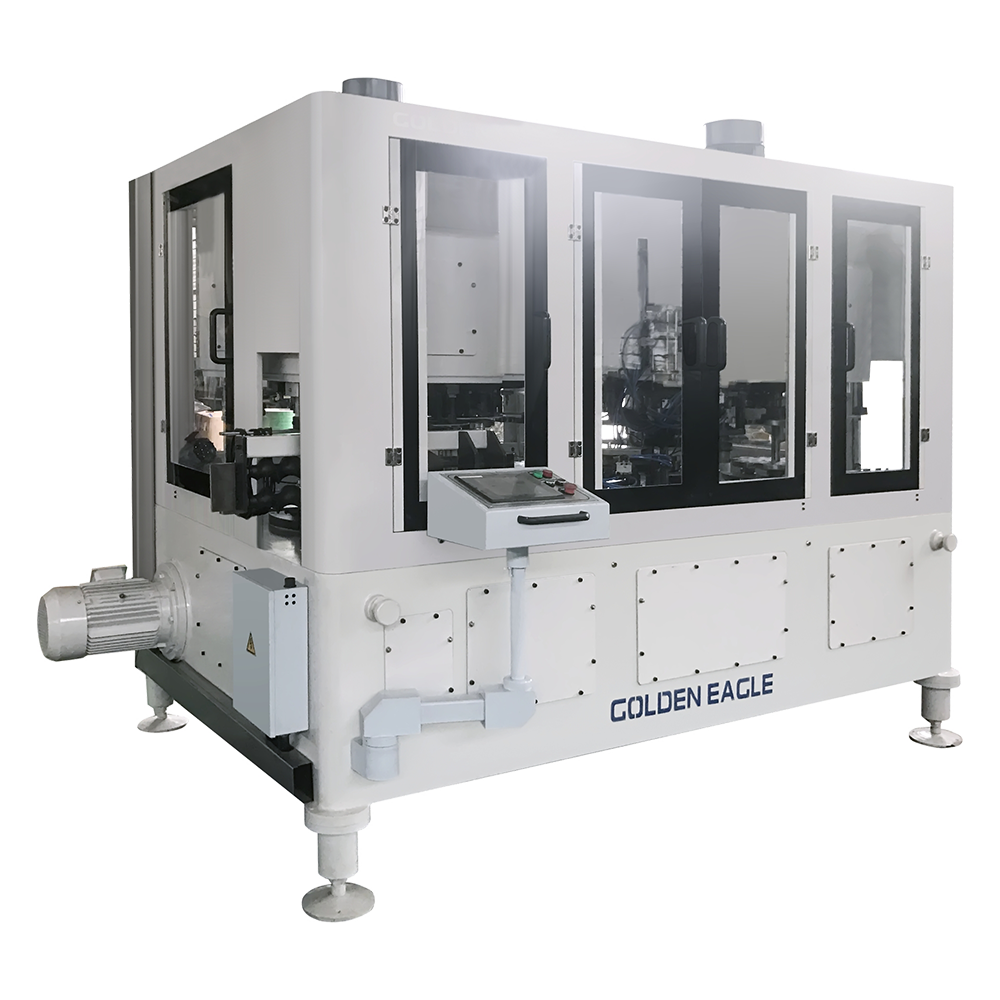 Aerosol Can Making Machines SeriesAutomatic aerosol can making line with necking, flanging, beading and seaming stations, covering Φ45–73 mm diameters at 80–350 cpm.View Product →
Aerosol lines reward routine more than they reward reaction. Seamer rolls need checking at every shift change, weld electrodes and wire need a replacement interval rather than a failure trigger, and the cone press needs its punches inspected for wear before the scrap rate tells you. Plants that log seam dimensions, weld tear-down results and leak-test rejects by shift usually spot a fault pattern within a week; plants that do not tend to replace parts until the line stops.
It also pays to read up on the commercial side before shortlisting, because a careful approach to choosing an aerosol can making machine will save more money than a discount on the first order.
Track record is a fair proxy for the support you will get in year five. Zhejiang Golden Eagle Food Machinery has built can-making machinery and moulds in Zhoushan since 1978, employs more than 350 people, holds ISO 9001 and ISO 14001 certification, reports over 10,000 can and lid machines delivered, and exports to Europe, Asia, Africa and the Americas.
If you take one thing from this, make it the test run. Bring your own tinplate, your own valve cups and your own product specification to the workshop, and ask for cans to be formed, seamed, lacquered and pressure tested while you watch. A supplier comfortable with that inspection is also likely to be comfortable when a dimension drifts two years later.
Aerosol can making is unforgiving about small numbers, but it is entirely predictable once the pressure boundary is treated as the design driver rather than an afterthought.
Related Products

Founded in 1978, the company is one of the largest can-making machinery well-known companies at home and abroad.
Product Categories
Contact Information
Zhongshatou Shenjiamen Zhoushan Zhejiang China
+86-580-3056646

 English
 中文简体
 русский
 عربى
 Español